

|
Total posts: 598
Last post: Dec 29, 2023 Member since:Sep 6, 2014
|
Cars in Garage: 0
Photos: 0 WorkBench Posts: 0 |
an update on my Shifter repair:
i installed the shifter back and wow, i cant believe it , i reduce the shifter play for about 80%, its a lot tighter now. and it engages way better.
.....more modifications to come, as my project stinky continues..
|
|
Total posts: 598
Last post: Dec 29, 2023 Member since:Sep 6, 2014
|
Cars in Garage: 0
Photos: 0 WorkBench Posts: 0 |
thanks jeg, the points is ok tho but it gets out of tune on high rpm, then it will leave me with 3 cylinders running, just got tired of it, im geting the petronix 2. 594d
|
|
Total posts: 7075
Last post: Nov 5, 2019 Member since:Apr 25, 2000
|
Cars in Garage: 0
Photos: 0 WorkBench Posts: 0 |
|
"jeg, what distributor system you got? do you have the electronic or point? what distributor can you recomend for my 1977 classic mini special."
Use whatever distributor your engine spec. requires -
There are many good (fit and forget) electronic systems out there, lotta folks use Petronix, lotta folks use AccuSpark, lotta folks use the Crane, or Luminition Magnatronic etc. I'm using Luminition Optronic.
 The peasants are revolting...
 ![]()
"Gone with the Wind" - a brief yet moving vignette concerning lactose intolerance
|
|
Total posts: 598
Last post: Dec 29, 2023 Member since:Sep 6, 2014
|
Cars in Garage: 0
Photos: 0 WorkBench Posts: 0 |
i see.
jeg, what distributor system you got? do you have the electronic or point? what distributor can you recomend for my 1977 classic mini special.
currently, i have the Lucas distributor / point
|
|
Total posts: 7075
Last post: Nov 5, 2019 Member since:Apr 25, 2000
|
Cars in Garage: 0
Photos: 0 WorkBench Posts: 0 |
|
No (wait, I take that back) - I had some clutch issues once, severe judder. I replaced the complete system. I made it a point of replacing and engine mounts and upper stabilizer bushes while I was doing the clutch/flywheel upgrades. I later added the lower (forward to subframe) and 2 x lower rearward to subframe, having previously solidified my subframe mounts.
The peasants are revolting... ![]()
"Gone with the Wind" - a brief yet moving vignette concerning lactose intolerance
|
|
Total posts: 598
Last post: Dec 29, 2023 Member since:Sep 6, 2014
|
Cars in Garage: 0
Photos: 0 WorkBench Posts: 0 |
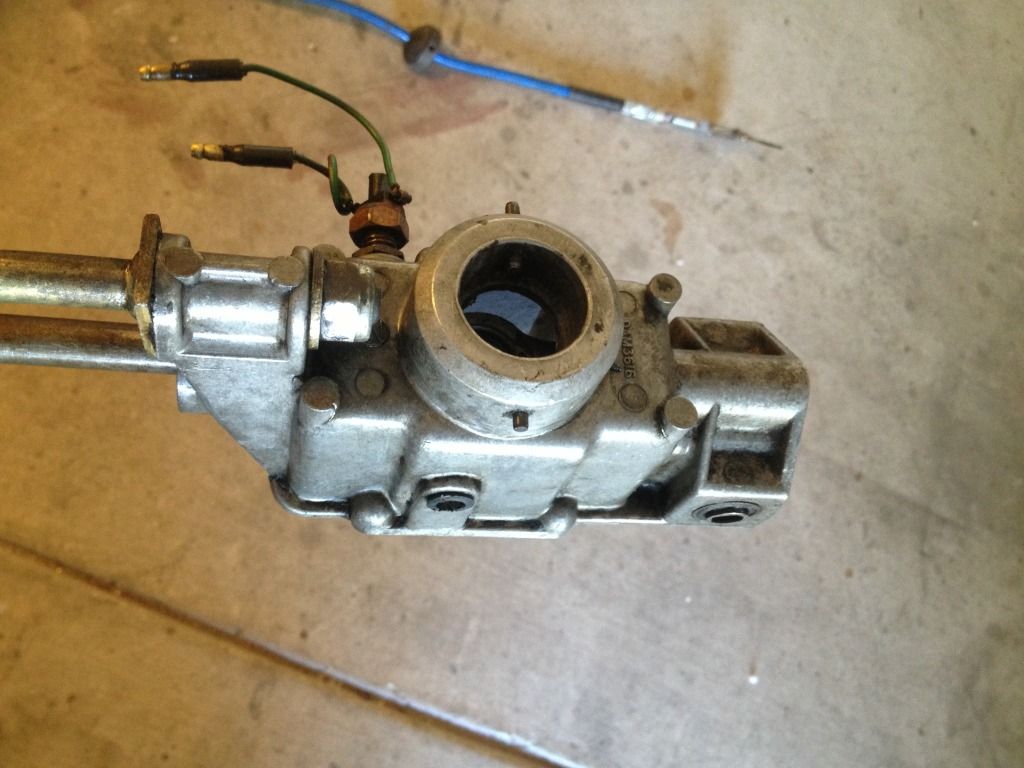
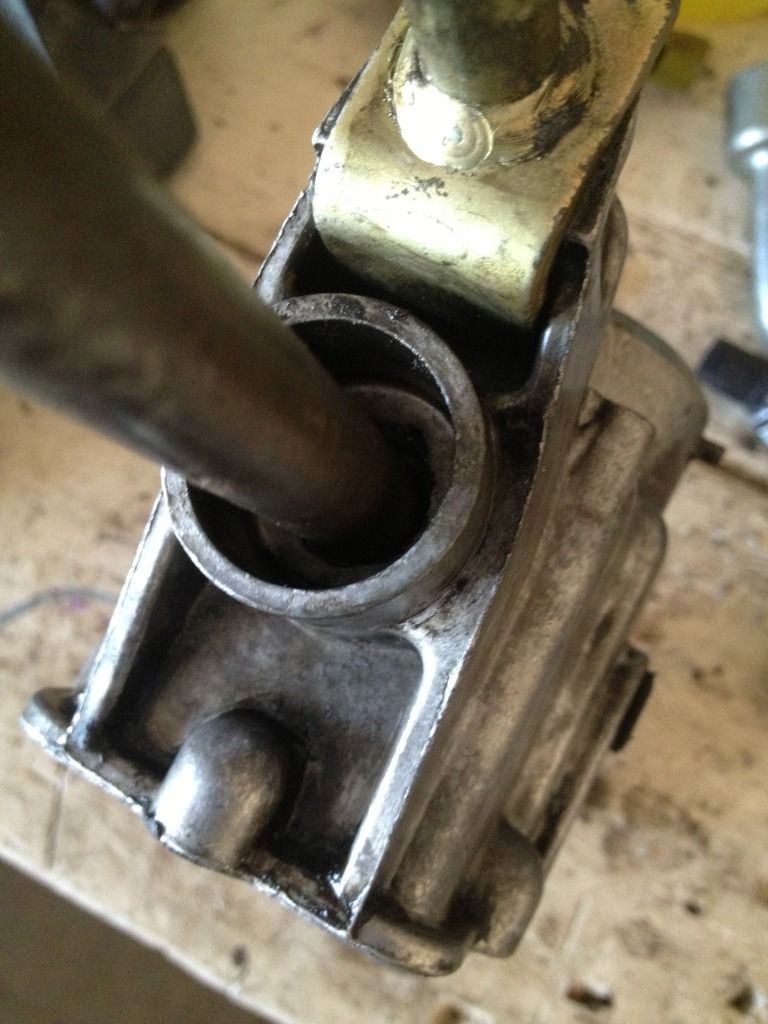
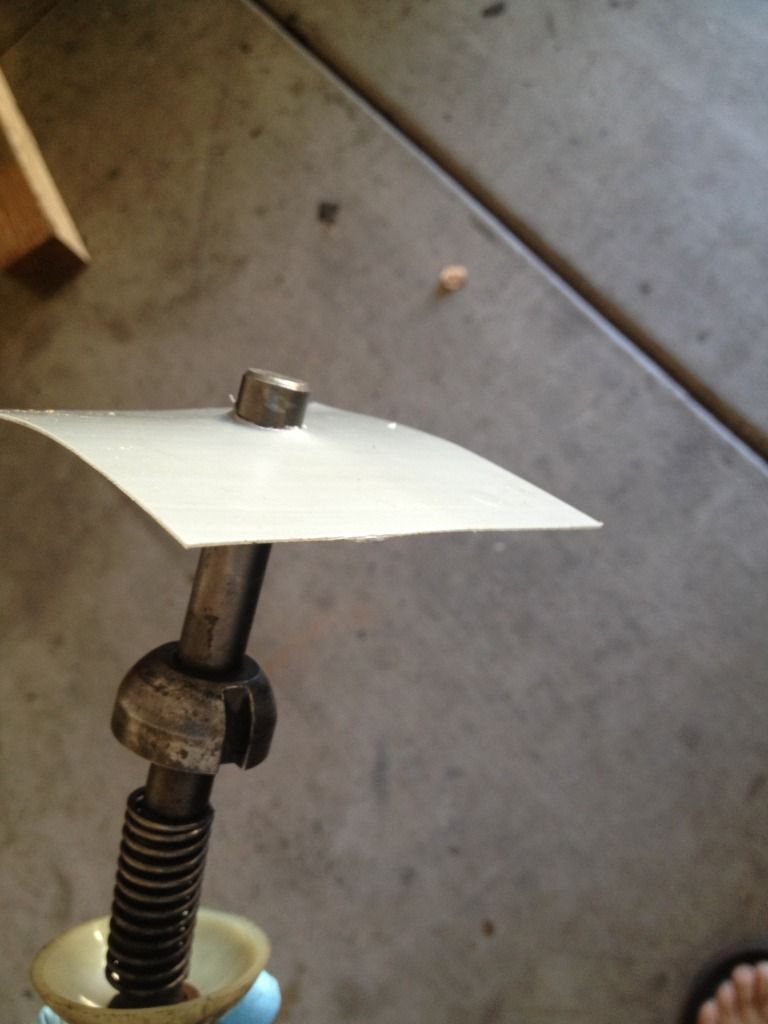
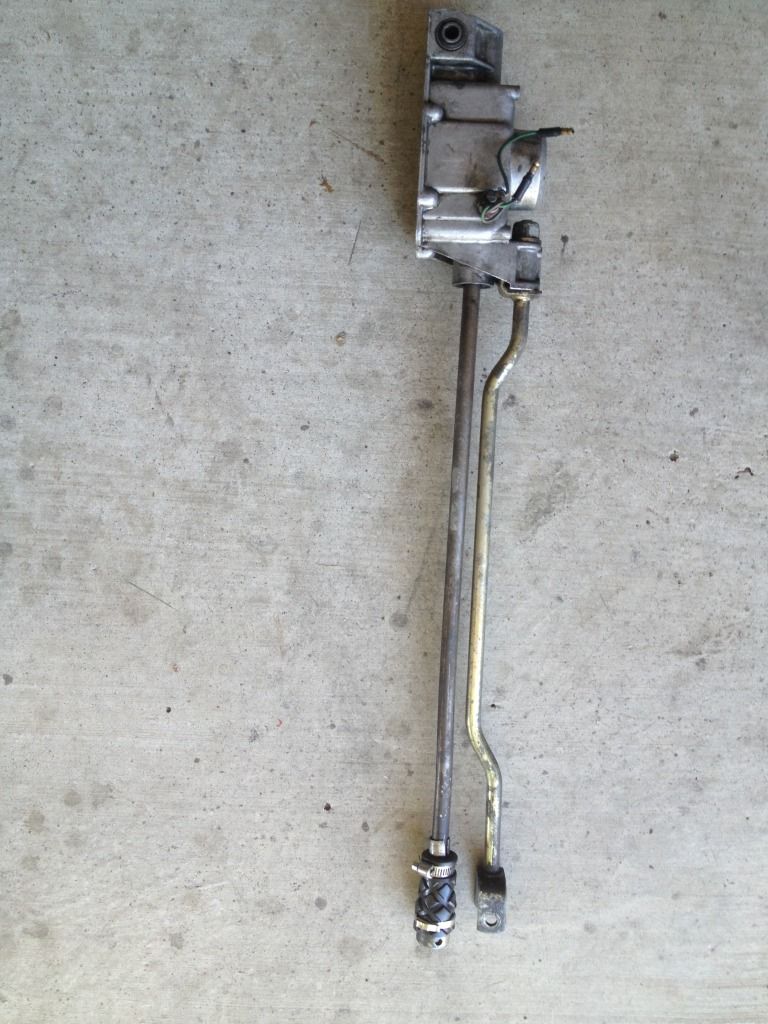
In my quest to make my loose, de-virginized annoying Shifter, i did some cheap DIM modification.
(DIM=do it myself)

after thorough cleaning
i attached a rubber gromet thingie to minimize the excessive wobble, ( its from my bicycles rubbber handle grip)
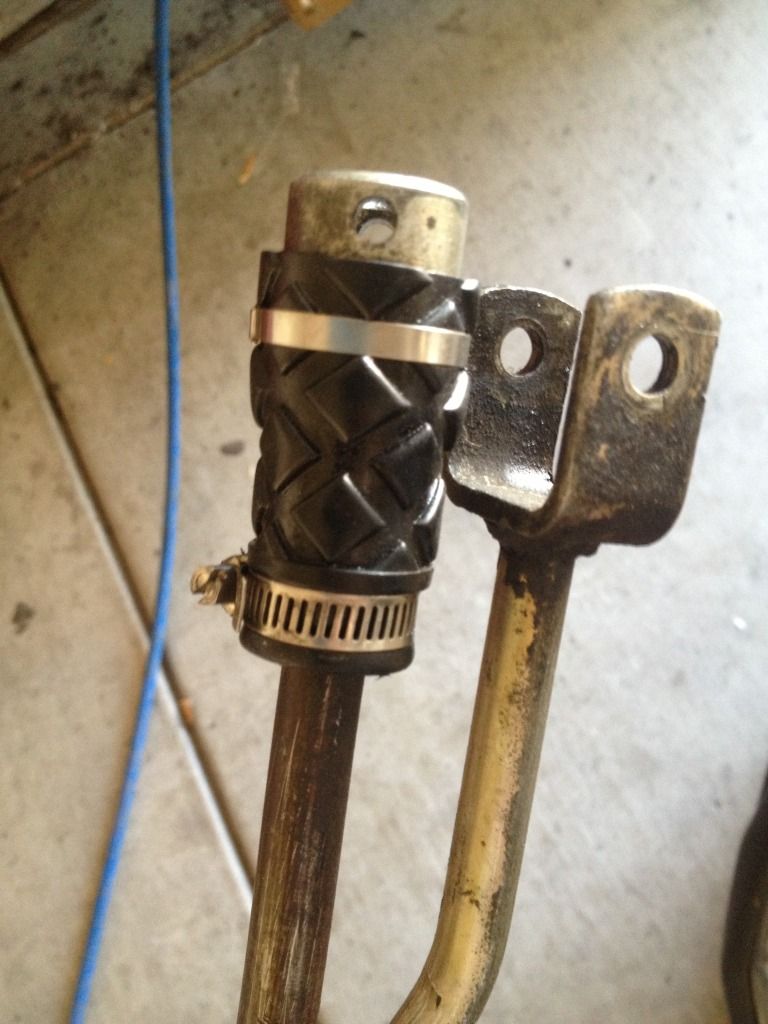
this one is loose too, i inserted a thin galvanized metal sheet to make it tight.
i borrowed my wife's nail file to smoothen the surface of the modified washer
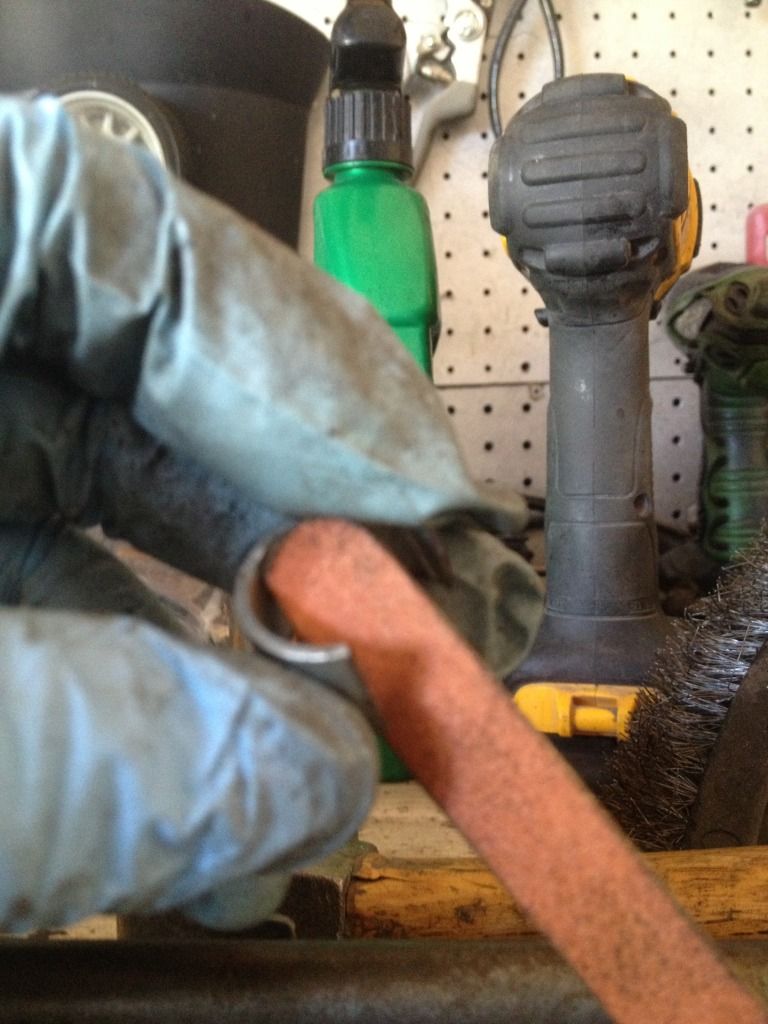
ready to be pushed inside, need to force it a bit
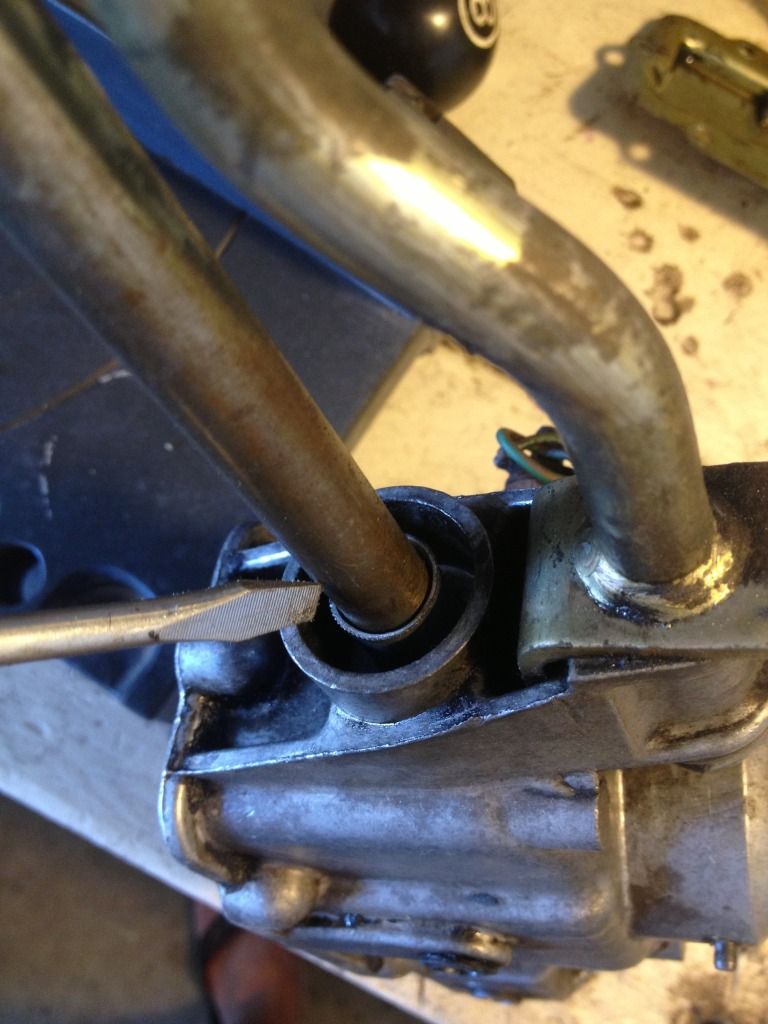
need to seal it with silicon rubber sealant
btw, the washer measures one and a half inches.
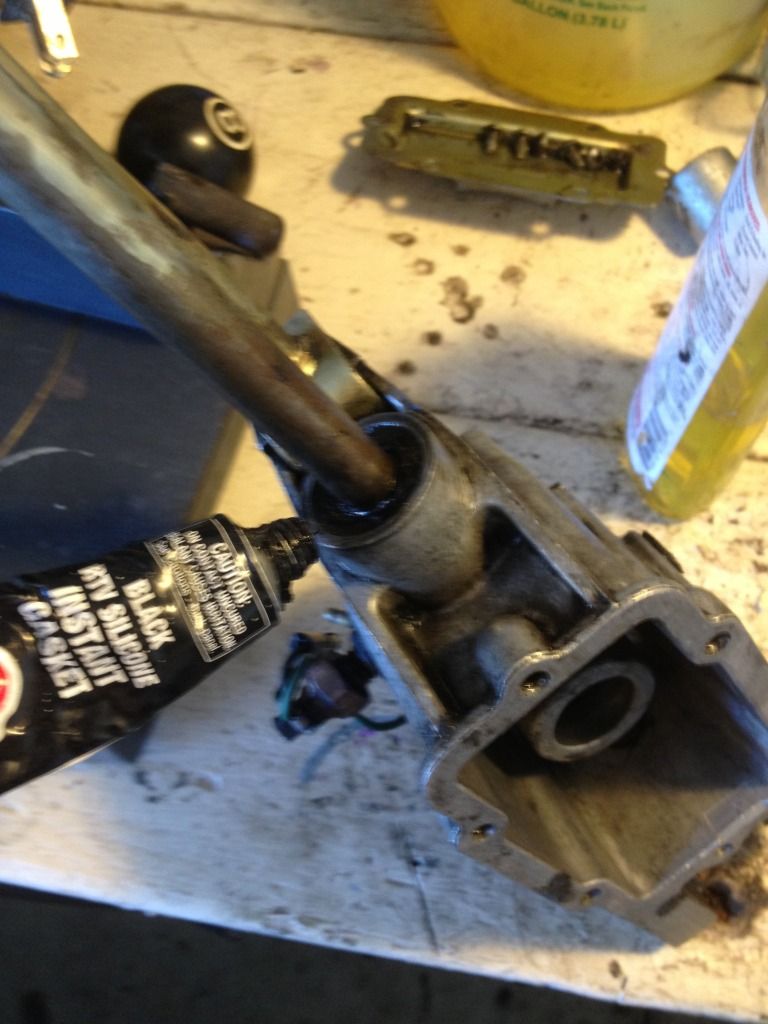
ok, now for the ball, i inserted a plastic plate cut out, from a mobile1 oil, the oil is expensive so i guess the plastic container is durable too, lol
heat it up until it looks bendable
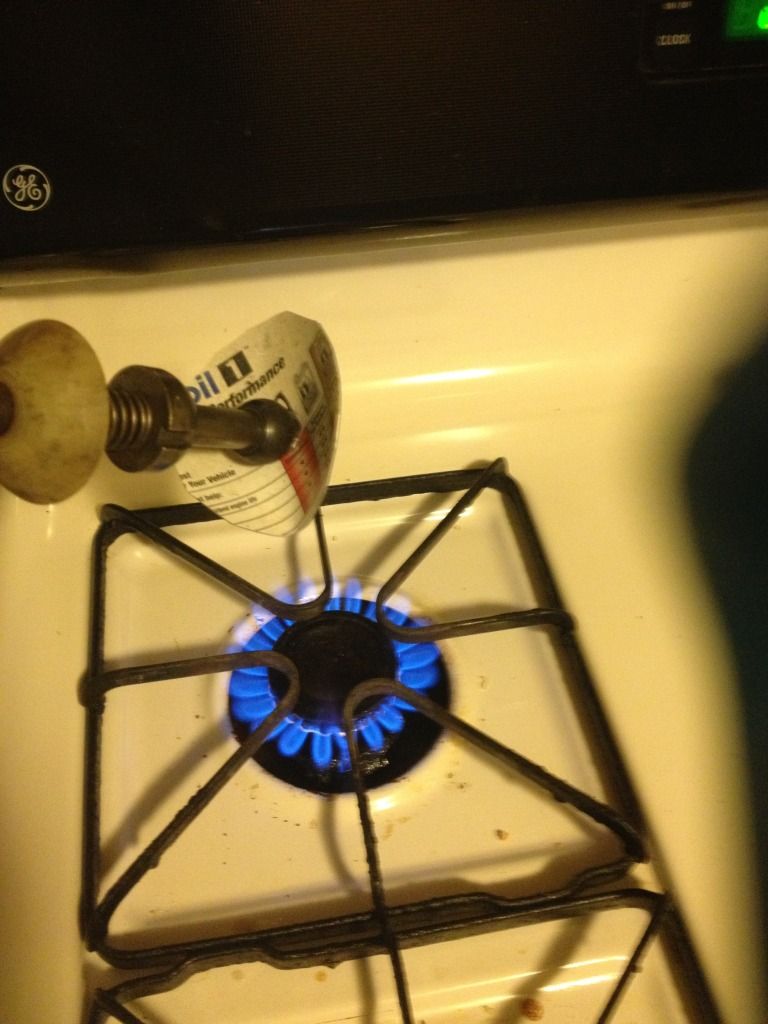
force it down to take the shape of the ball
ok then just cut the excess
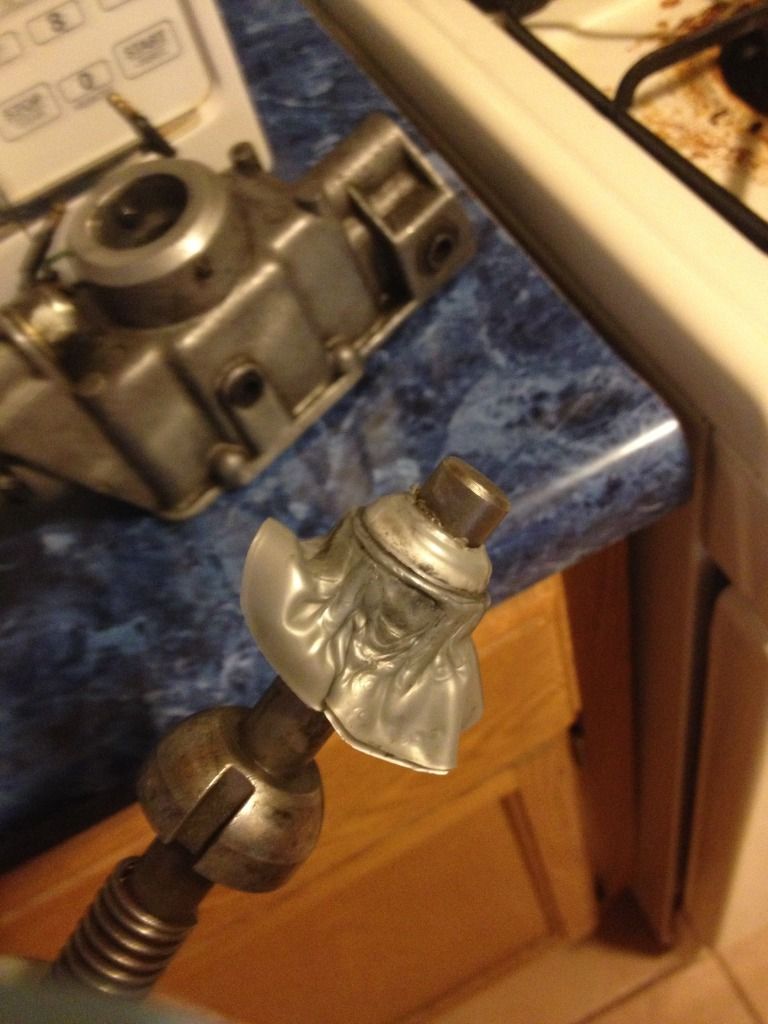
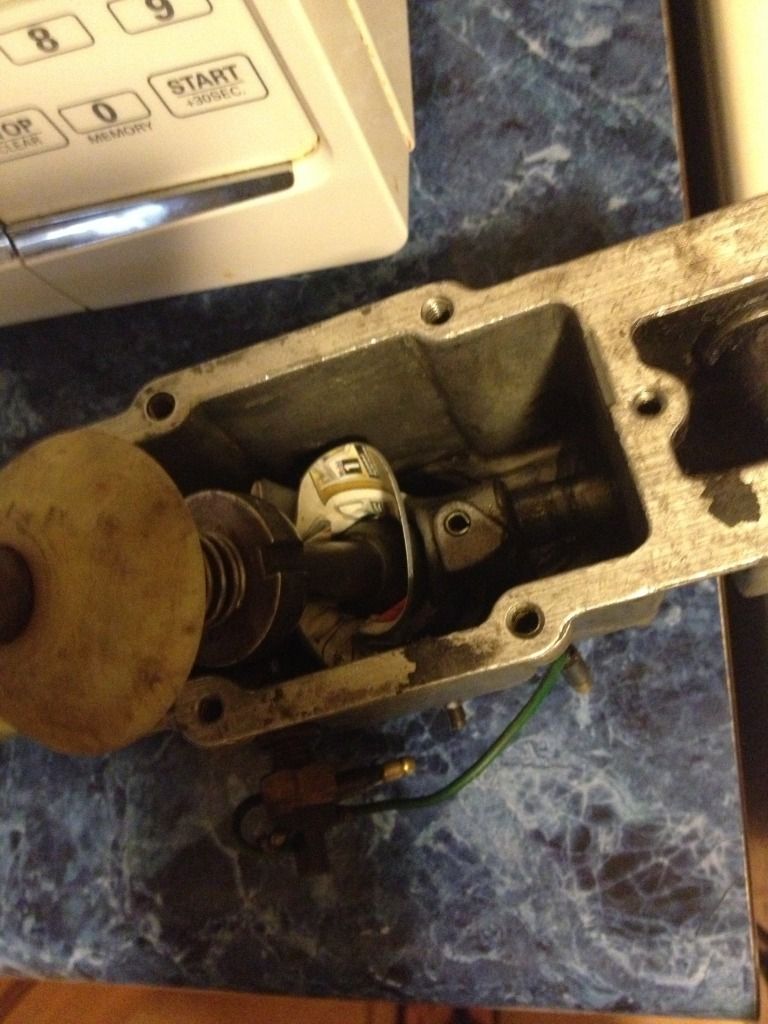
ok, just waiting for the silicon rubber to solidify then ill re-instal the shifter.
|
|
Total posts: 9542
Last post: Apr 18, 2024 Member since:Aug 14, 2002
|
Cars in Garage: 0
Photos: 0 WorkBench Posts: 0 |
|
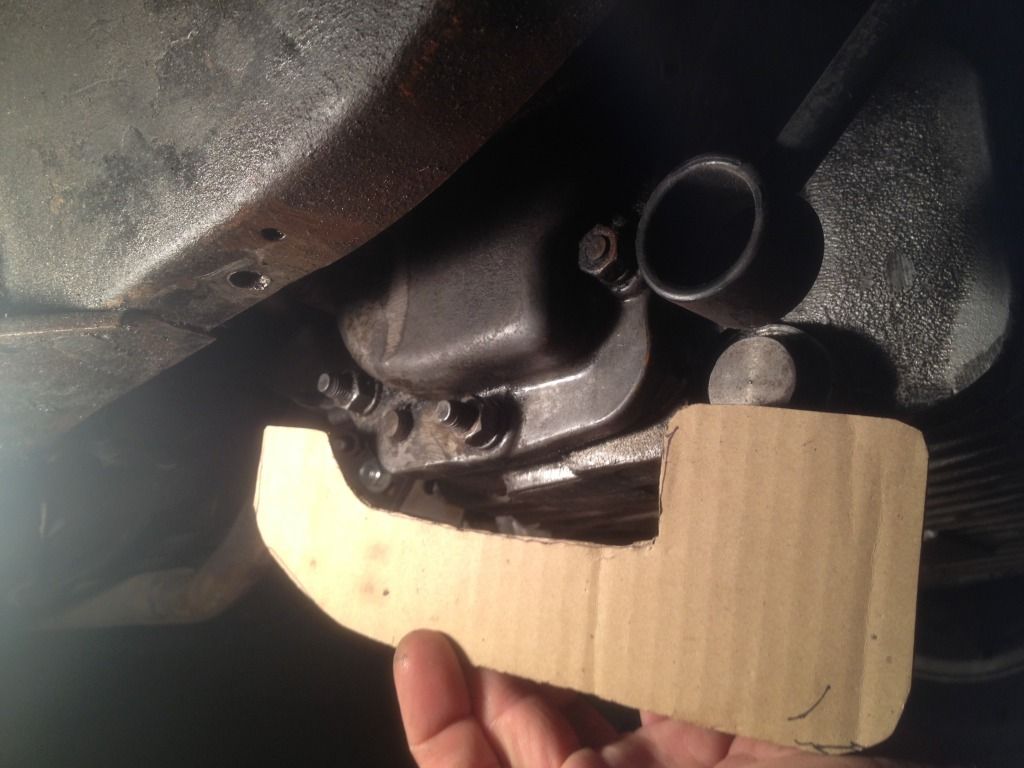
dan i dont have the lower firewall bracket i may need to fabricate something for it as well ,good you told me that.
ty
Robster:
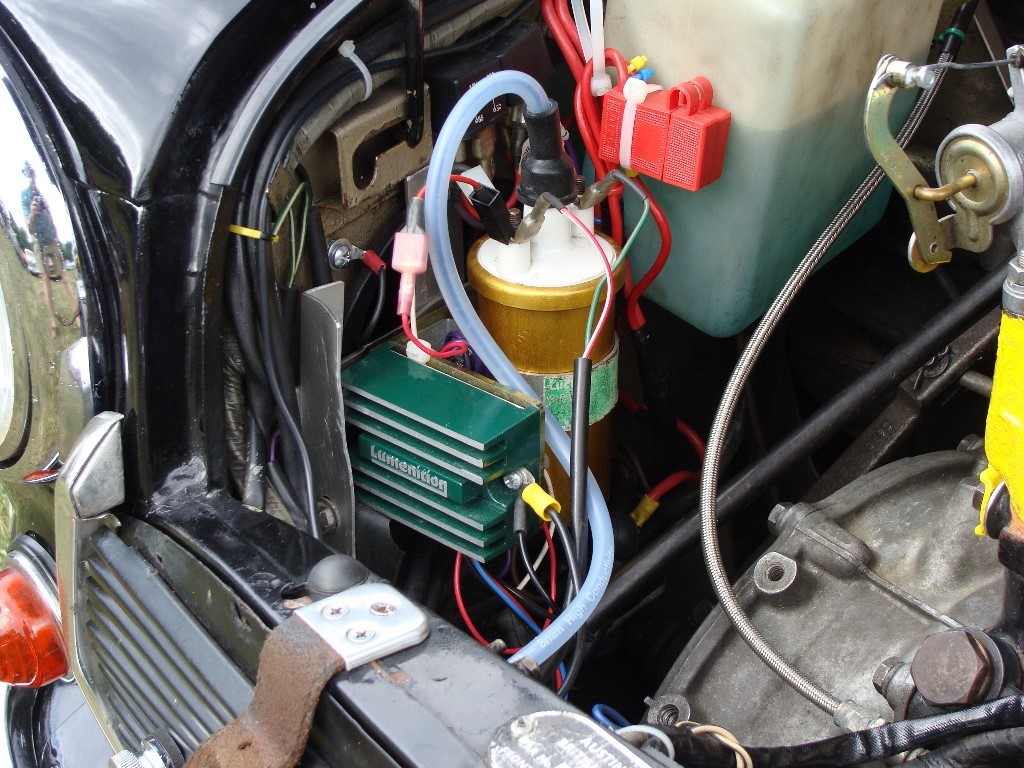
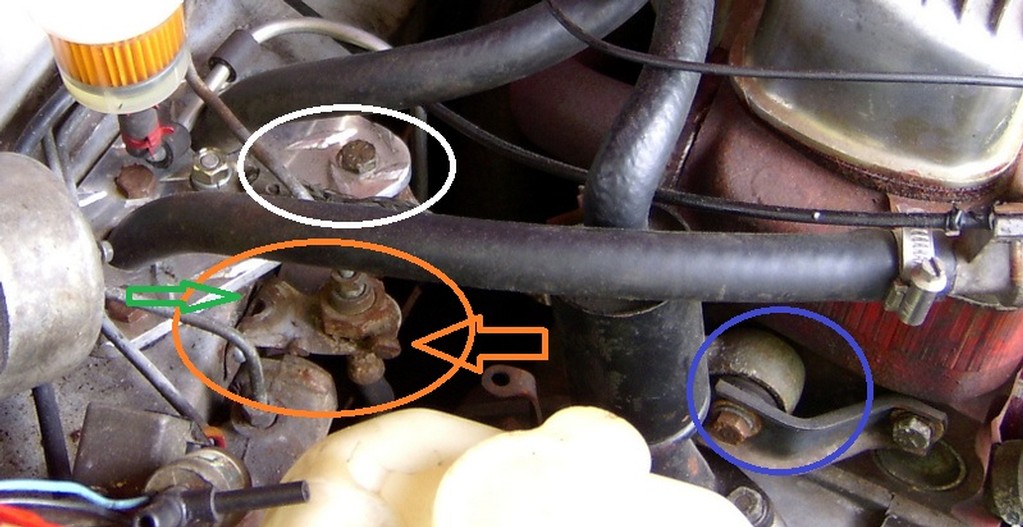
Your upper engine steady should run from the block back to the firewall. The end circled in blue should be snug, with both ends of the bolt supported with a bracket like that. The other end at the firewall, circled in white should be supported top at both ends of the bolt.
The part on my car circled in orange is the lower bracket. In theis picture it is turned 90 degrees from where it should be. It also supports the clutch hydraulic connection. The orange arrow points to the weld that failed. The green arrow points to the hole that the engine steady bolt is supposed to be supported by. You can't see it, but I took a short piece of angle iron and bolted it to the firewall (I don't have a welder.)
The bolt circled in white must be supported at both ends or it will metal-fatigue the havy stamped plate through which the heater hoses pass (or the master cylinders on a right hand drive car).
.
"Hang on a minute lads....I've got a great idea."
|
|
Total posts: 10237
Last post: Apr 9, 2024 Member since:Mar 24, 1999
|
Cars in Garage: 0
Photos: 0 WorkBench Posts: 0 |
|
Good effort, but I suspect that the factory used the front bolt and not the rear bolt for a reason - stiffer bracket with less sideflex.
//www.minimania.com/part/NAM3760/Bracket-Lower-Right-Front-Stabilizer
|
|
Total posts: 598
Last post: Dec 29, 2023 Member since:Sep 6, 2014
|
Cars in Garage: 0
Photos: 0 WorkBench Posts: 0 |
dan i dont have the lower firewall bracket i may need to fabricate something for it as well ,good you told me that.
jeg, did you ever had issues with vibration during take off and when shifting gears before you did the bracket on yours?
ty
|
|
Total posts: 7075
Last post: Nov 5, 2019 Member since:Apr 25, 2000
|
Cars in Garage: 0
Photos: 0 WorkBench Posts: 0 |
|
Looks robust. Of course, you could also add the 2 lower stabilizers that mount rearwards to the subframe also. I did this to mine many years ago as a suplement to the standard upper and the one that you just repaired and the engine is still sitting mighty solid.
The peasants are revolting... ![]()
"Gone with the Wind" - a brief yet moving vignette concerning lactose intolerance
|
|
Total posts: 9542
Last post: Apr 18, 2024 Member since:Aug 14, 2002
|
Cars in Garage: 0
Photos: 0 WorkBench Posts: 0 |
|
Robster, you should (if you haven't already) check the upper engine steady at both ends. Check not only that the bolts are tight but that the upper and lower firewall brackets are in good condition. Check also that the subframe-to-body mounts are all secure and complete - 2 tower bolts, 2 front bolts and both floor connections.
.
"Hang on a minute lads....I've got a great idea."
|
|
Total posts: 598
Last post: Dec 29, 2023 Member since:Sep 6, 2014
|
Cars in Garage: 0
Photos: 0 WorkBench Posts: 0 |
thanks Dan, the vibration lessen for about 70%..good enough
|
|
Total posts: 9542
Last post: Apr 18, 2024 Member since:Aug 14, 2002
|
Cars in Garage: 0
Photos: 0 WorkBench Posts: 0 |
|
Nice work, robster!
.
"Hang on a minute lads....I've got a great idea."
|
|
Total posts: 598
Last post: Dec 29, 2023 Member since:Sep 6, 2014
|
Cars in Garage: 0
Photos: 0 WorkBench Posts: 0 |
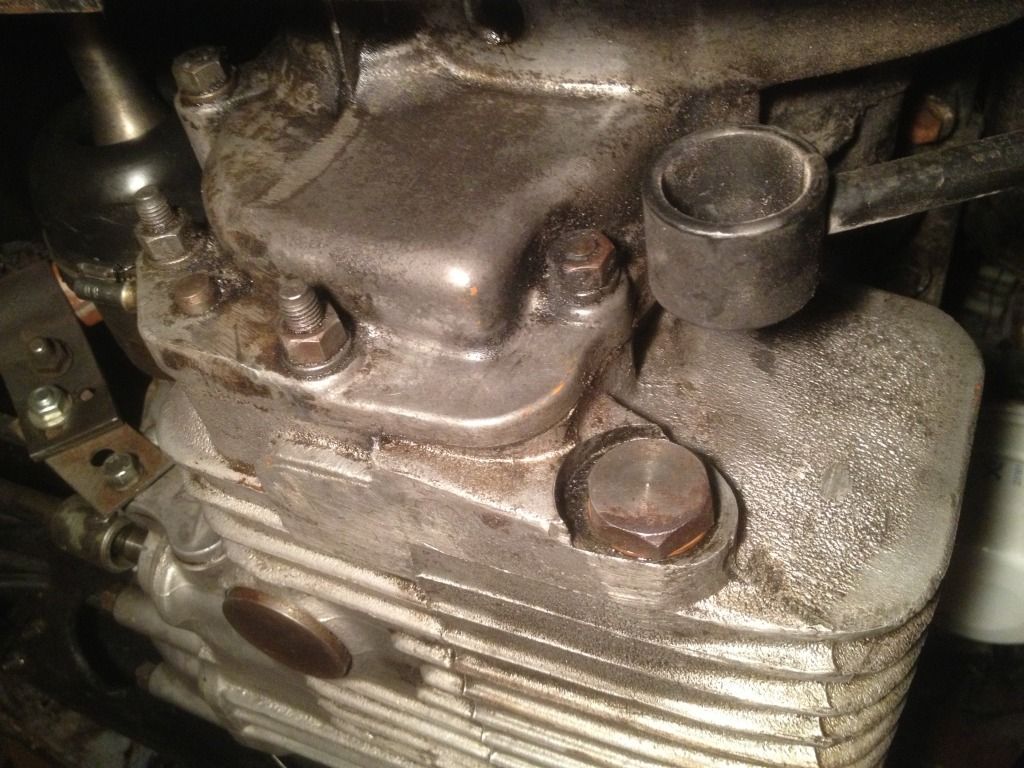
no, Mal, there is at least one and a half inch clearance from the nut.
ty
|
|
Total posts: 8382
Last post: Jan 13, 2022 Member since:Feb 7, 2006
|
Cars in Garage: 0
Photos: 0 WorkBench Posts: 0 |
|
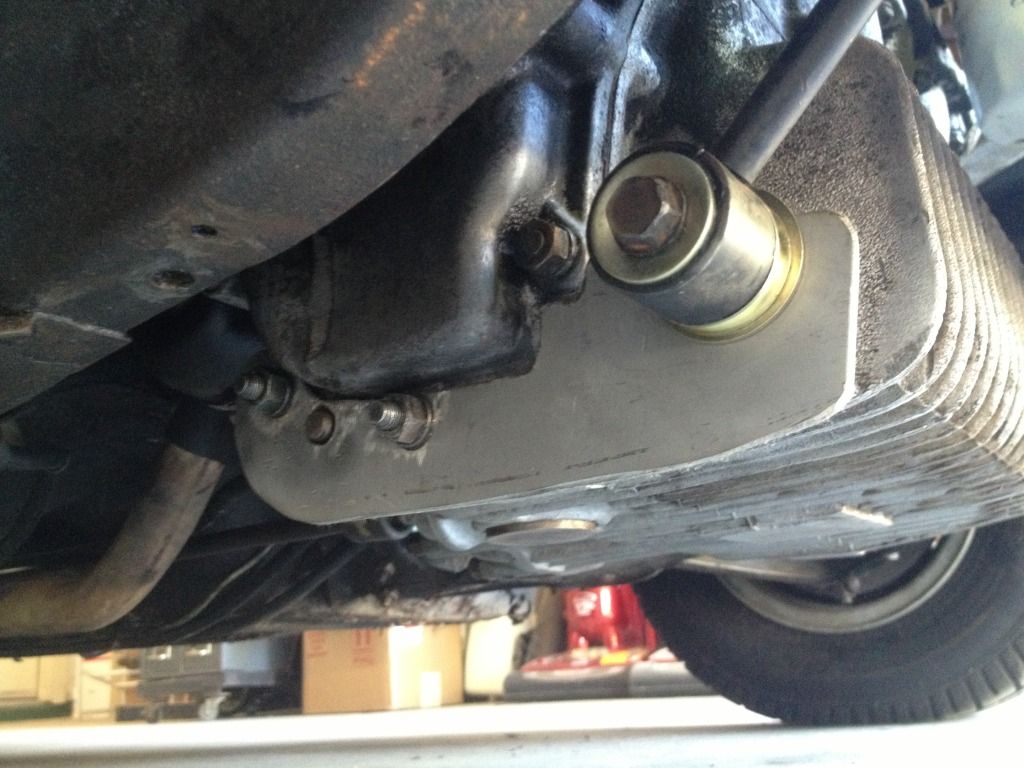
Looks good but won't you have to remove it every time you change the oil ?
If in doubt, flat out. Colin Mc Rae MBE 1968-2007.
Give a car more power and it goes faster on the straights,
make a car lighter and it's faster everywhere. Colin Chapman.
|
|
Total posts: 598
Last post: Dec 29, 2023 Member since:Sep 6, 2014
|
Cars in Garage: 0
Photos: 0 WorkBench Posts: 0 |
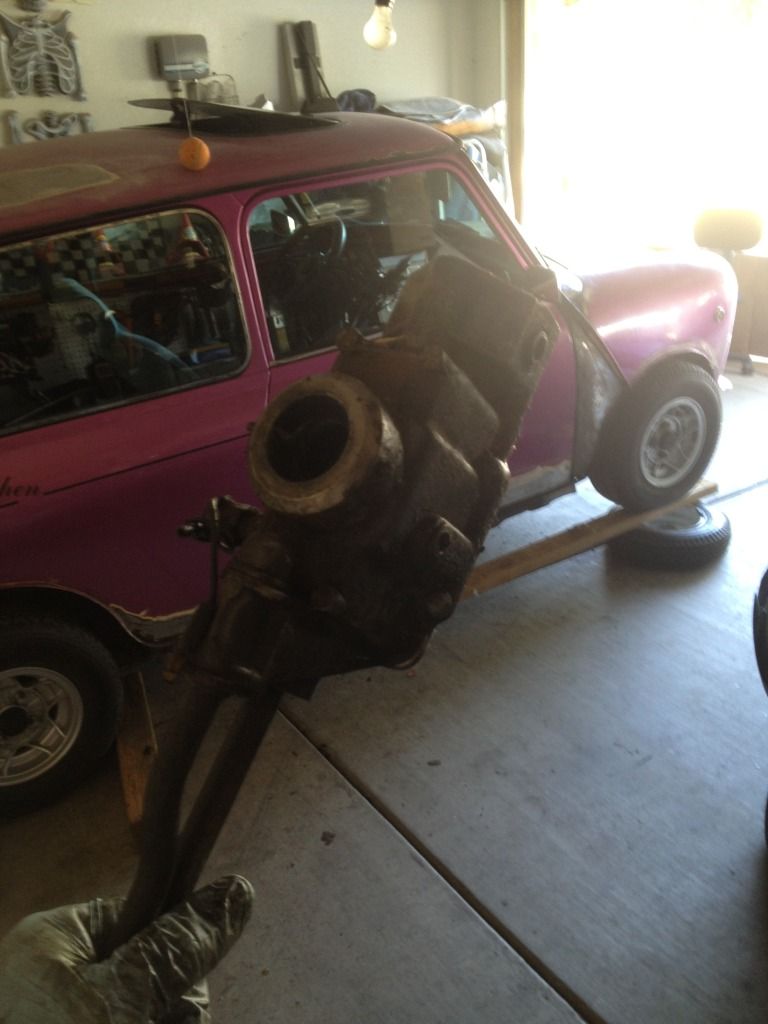
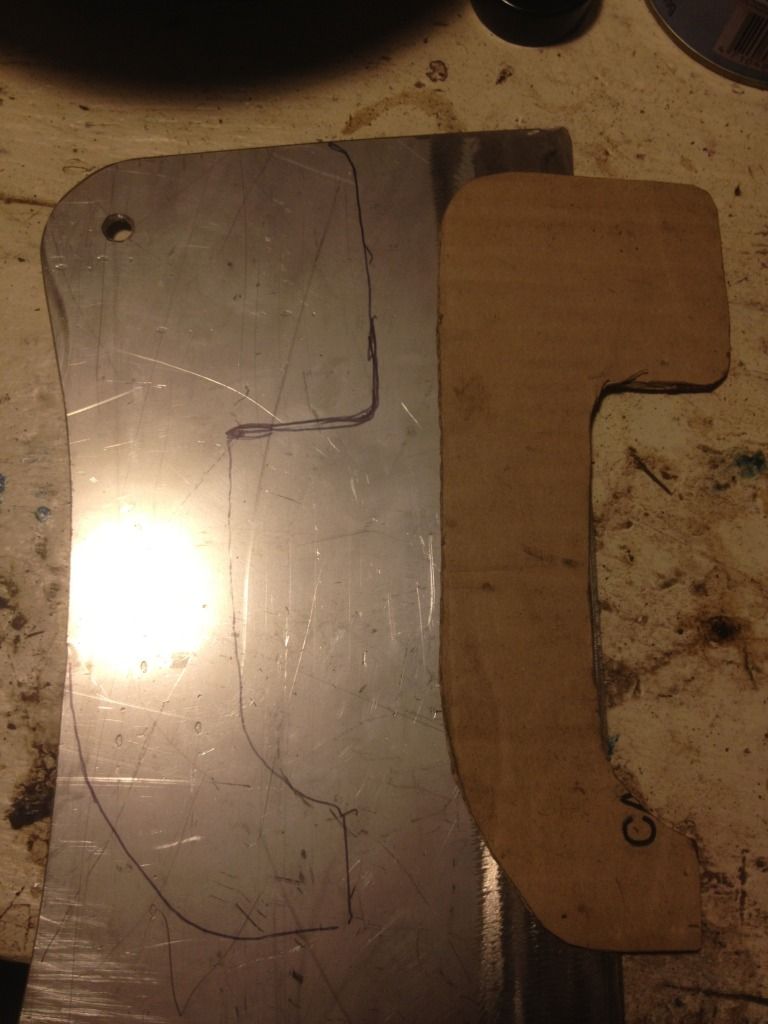
bracket done
|
|
Total posts: 598
Last post: Dec 29, 2023 Member since:Sep 6, 2014
|
Cars in Garage: 0
Photos: 0 WorkBench Posts: 0 |
This thread is for mini owners who restores his own car but with little budget.
1) my car vibrates when shifting gears, i need to fabricate some motor mount...
more pics to come


