
| Orig. Posting Date | User Name | Edit Date |
| Sep 2, 2015 03:44PM | armycook | |
| Sep 2, 2015 02:48PM | Dan Moffet | Edited: Sep 2, 2015 02:51PM |
| Sep 2, 2015 01:53PM | armycook | |
| Sep 2, 2015 08:55AM | SoCalMiniFan | |
| Sep 2, 2015 06:30AM | mystacreation | |
| Sep 2, 2015 06:25AM | ssuperflyoldguy | |
| Sep 2, 2015 06:08AM | armycook | |
| Sep 2, 2015 05:59AM | malsal | |
| Sep 2, 2015 05:31AM | Dan Moffet | |
| Sep 1, 2015 07:29PM | armycook | Edited: Sep 1, 2015 07:30PM |
| Sep 1, 2015 10:04AM | SoCalMiniFan | |
| Sep 1, 2015 09:09AM | armycook | Edited: Sep 1, 2015 09:11AM |
| Sep 1, 2015 08:19AM | malsal | |
| Sep 1, 2015 07:43AM | armycook | Edited: Sep 1, 2015 07:48AM |
| Aug 31, 2015 11:07PM | armycook | |
| Aug 30, 2015 07:29AM | mystacreation | |
| Aug 30, 2015 04:17AM | CooperTune | |
| Aug 30, 2015 12:45AM | armycook | |
| Aug 29, 2015 06:44PM | JohninCM | |
| Aug 29, 2015 05:23PM | Minimike1 |

|
Total posts: 678
Last post: Sep 29, 2022 Member since:Apr 26, 2011
|
Cars in Garage: 0
Photos: 0 WorkBench Posts: 0 |
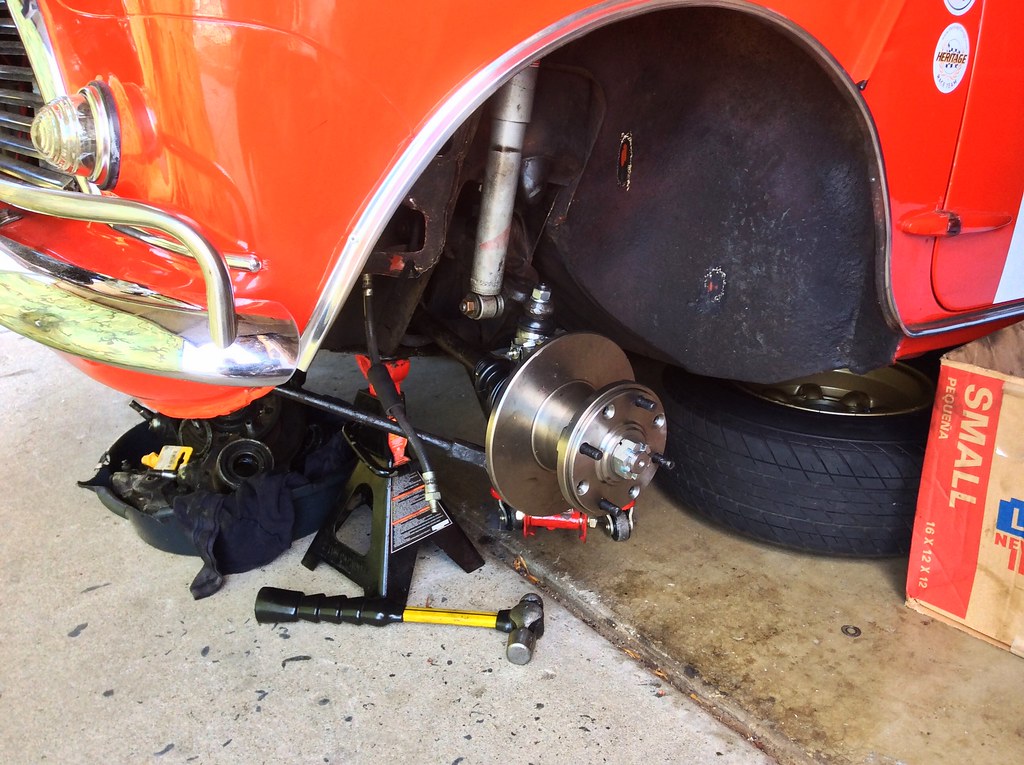
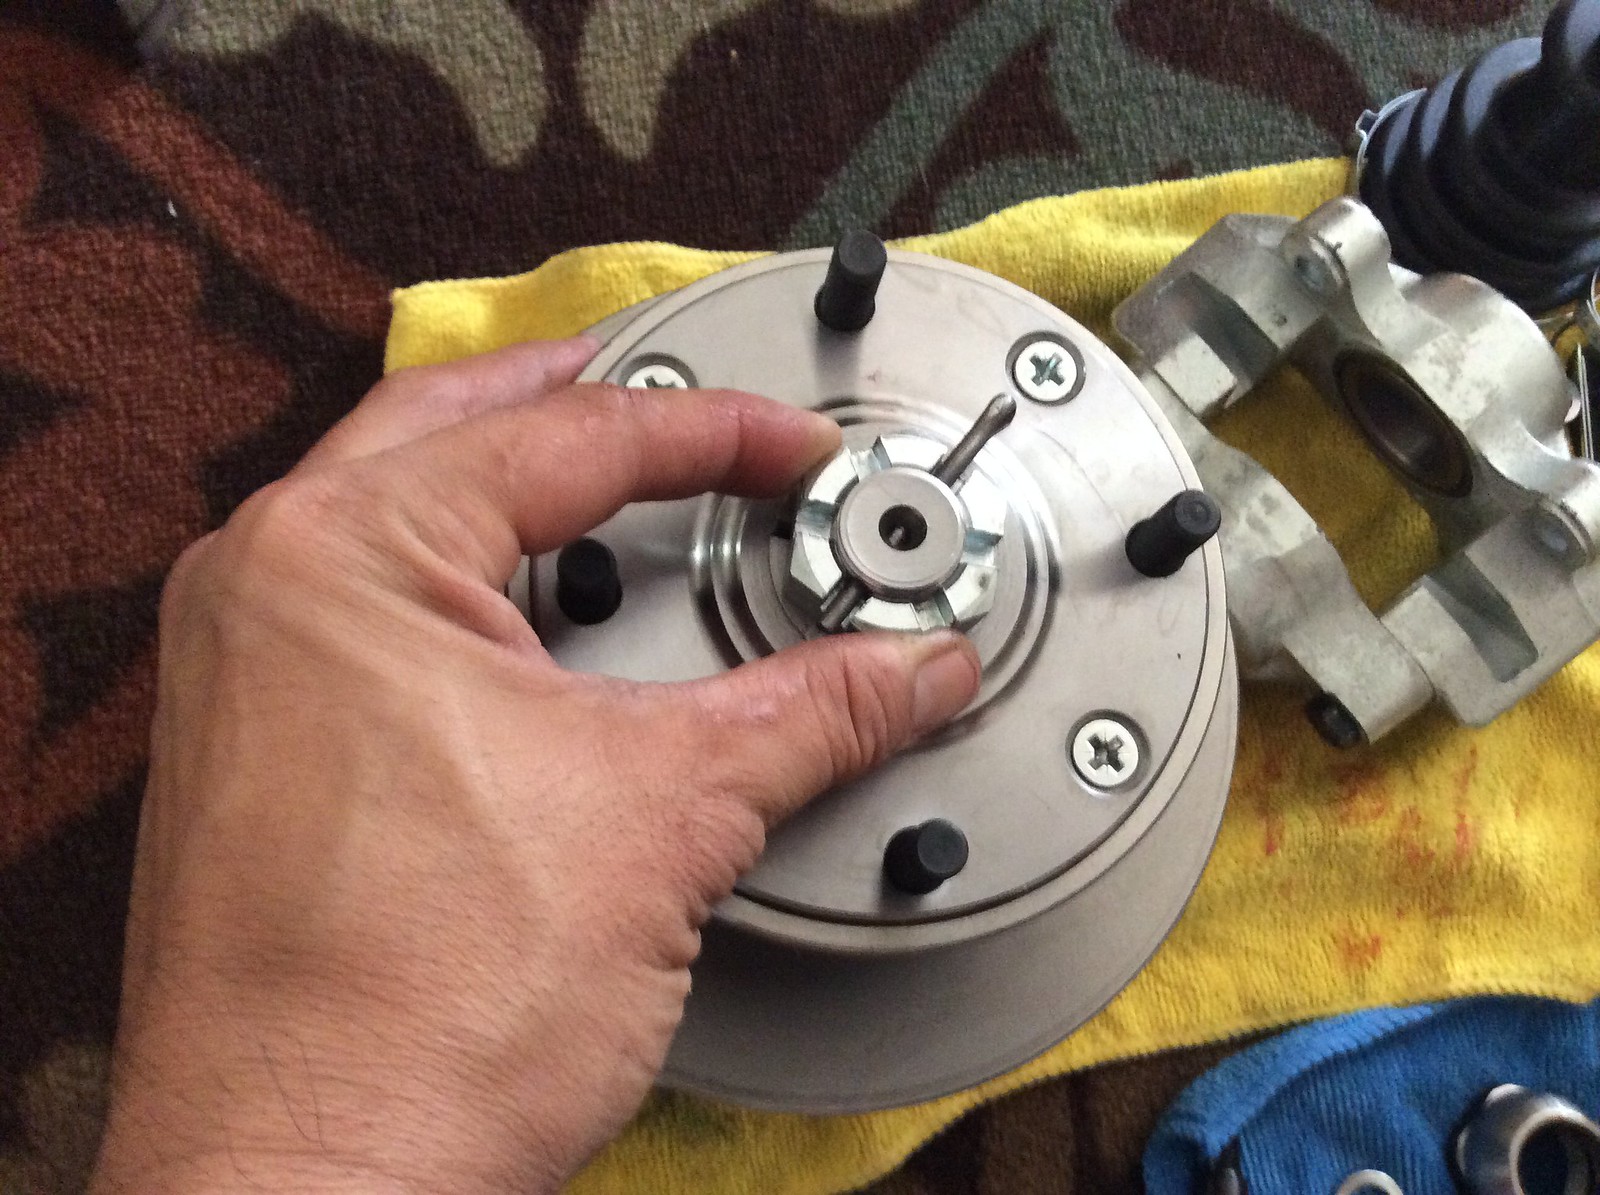
Its so ugly now but few more hours and I will reap the great benefits of a nice 7.5 disc brake finally ![]()
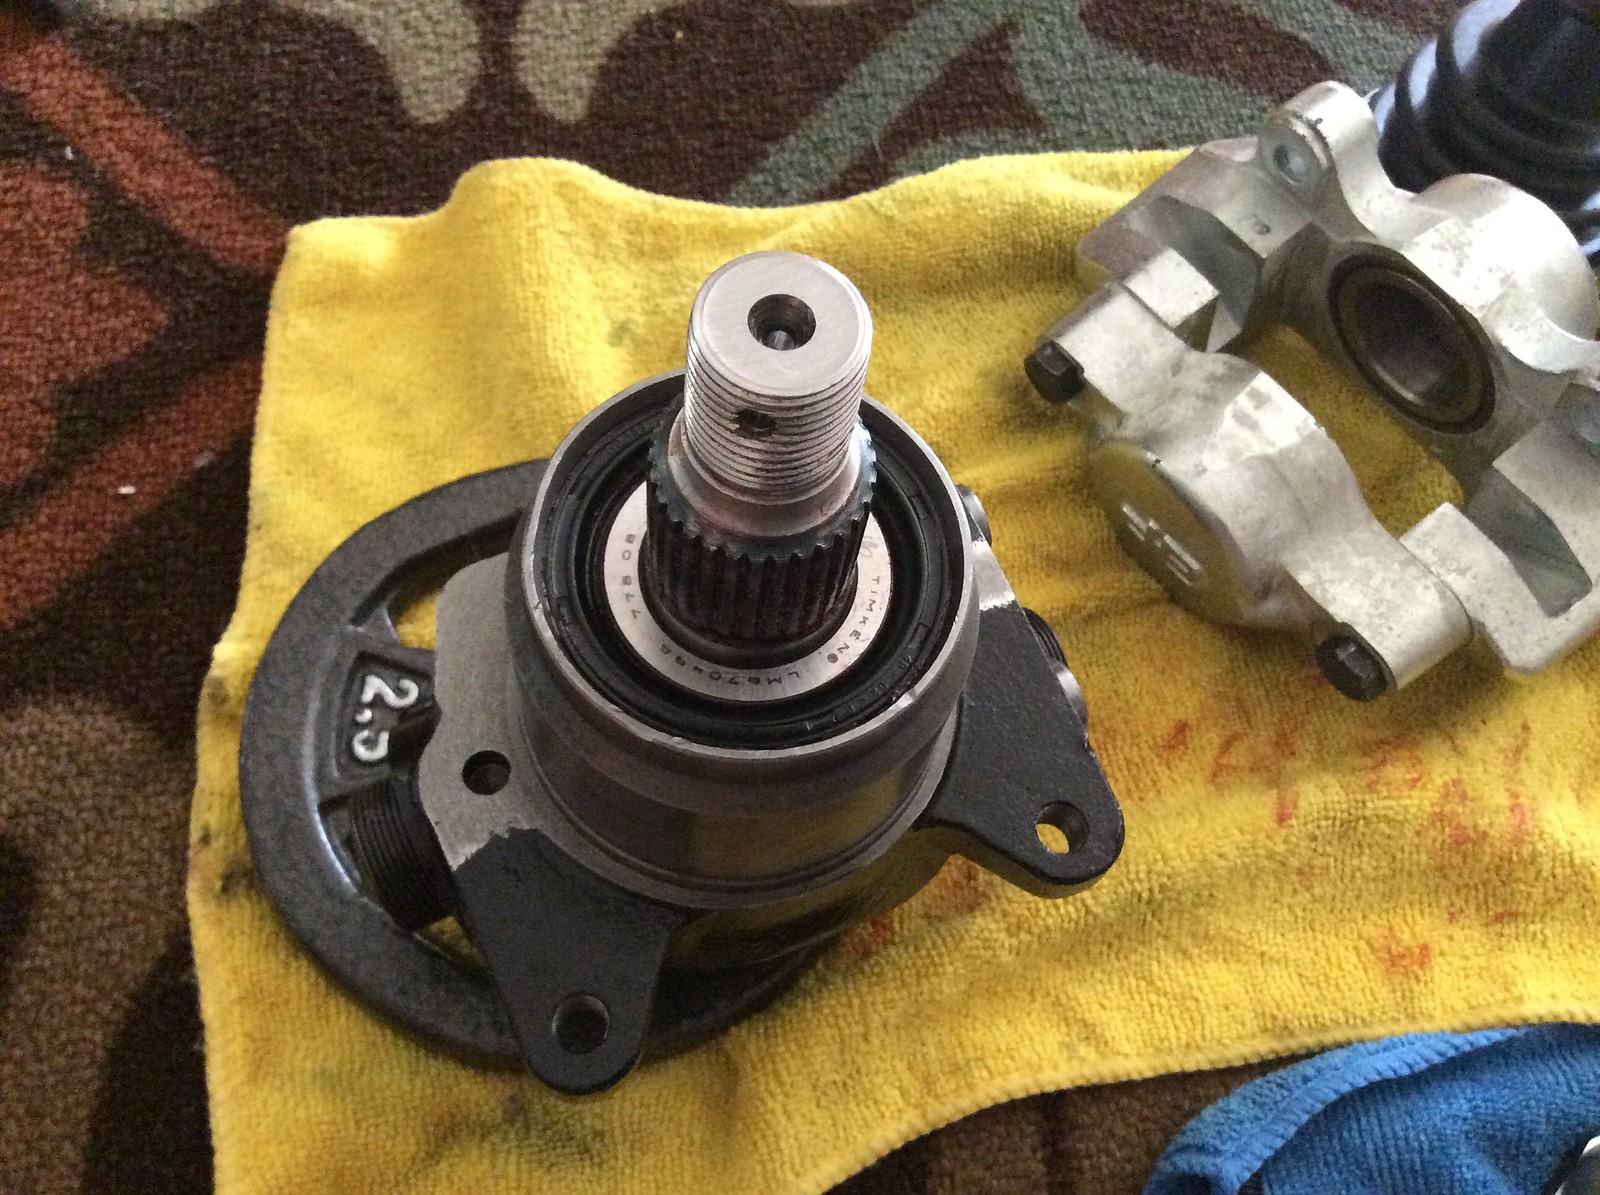
Ball joints on driver side done. Looks nice with the new rotor on.
|
|
Total posts: 9544
Last post: Apr 24, 2024 Member since:Aug 14, 2002
|
Cars in Garage: 0
Photos: 0 WorkBench Posts: 0 |
|
Shimming ballpoints is a pain in the ass if you don't have a vice. ugh.
Not wanting to take the hubs or driveshafts apart, I did mine in this....
The nuisance part was having to reduce one of the dome nuts... by hand. At least I had a vice for that!
.
"Hang on a minute lads....I've got a great idea."
|
|
Total posts: 678
Last post: Sep 29, 2022 Member since:Apr 26, 2011
|
Cars in Garage: 0
Photos: 0 WorkBench Posts: 0 |
Shimming ballpoints is a pain in the ass if you don't have a vice. ugh.
|
|
Total posts: 70
Last post: Oct 30, 2017 Member since:Sep 23, 2014
|
Cars in Garage: 0
Photos: 0 WorkBench Posts: 0 |
I searched the Internet for a while to figure out of the bleed nipples when up or down. I finally did a Google image search for "Classic Mini Cooper Brake Conversion" and compared photo after photo and got it right. The Haynes Manuel wasn't helpful for sh*t!
Sorry it it was such a headache, it seemed like you had it going well when I stopped in.
|
|
Total posts: 147
Last post: Mar 19, 2018 Member since:Feb 18, 2010
|
Cars in Garage: 1
Photos: 39 WorkBench Posts: 1 |
|
DANG!
OK. next tip: when you get to putting the caliper on, make sure they ae on the right side of the car and that the bleeders are in the right location.
Hope the migraines go away. Being so small and close to the ground, Minis are hard enough to work on and can generate postural headaches (sore neck from working at a bad angle etc.). Working in heat and glare as in your ponch picture is a whole separate migraine trigger set. You must be working in a "perfect storm" of migraine triggers. Been there done that, so I know your pain. (Not the helicopter thing though!)
Bleed nipples on the top Dennis.
I second that one! When I installed a set of 8.4 four pot calipers I had the nipples on the bottom and it drove me nuts why I couldn't get a good pedal after 30 minutes. Turns out you cant get all the air out of the caliper if they are pointed down.
|
|
Total posts: 1268
Last post: Feb 23, 2020 Member since:Oct 30, 2008
|
Cars in Garage: 0
Photos: 46 WorkBench Posts: 1 |
Dang, you're getting that done fast. I'm still stuck on the same pot-joint I was at a month ago....(I think that was before you even considered disk brake upgrade)
|
|
Total posts: 678
Last post: Sep 29, 2022 Member since:Apr 26, 2011
|
Cars in Garage: 0
Photos: 0 WorkBench Posts: 0 |
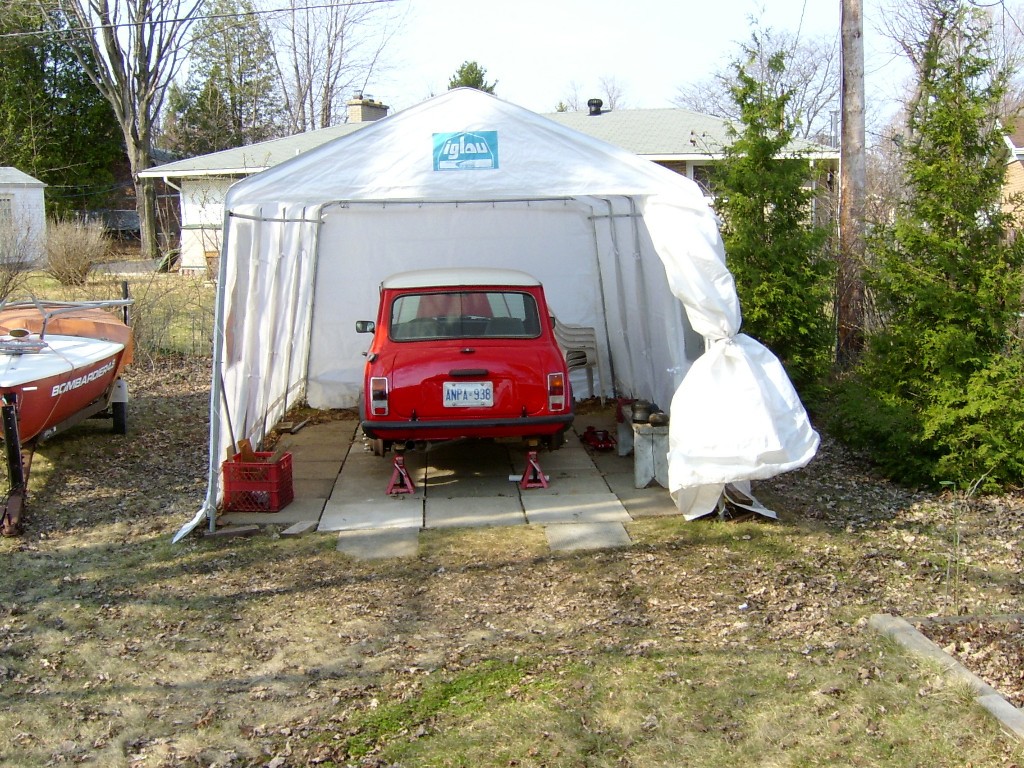
I had my cousin continue it for me. Thought I'd be able to finish it yesterday but the car doesnt have front wheels on and my little garage doesn't make it a great space to work on wheels so I had the mini's nose slightly out. So my garage door was open the whole night. My cousin is now helping me. Gave him instructions. "Correct" instructions lol.
im going back to bed. Not feeling good today. thanks guys! I really appreciate it. Socalminifan even stopped by yesterday to check on my progress. She's really nice.
|
|
Total posts: 8382
Last post: Jan 13, 2022 Member since:Feb 7, 2006
|
Cars in Garage: 0
Photos: 0 WorkBench Posts: 0 |
|
DANG!
OK. next tip: when you get to putting the caliper on, make sure they ae on the right side of the car and that the bleeders are in the right location.
Hope the migraines go away. Being so small and close to the ground, Minis are hard enough to work on and can generate postural headaches (sore neck from working at a bad angle etc.). Working in heat and glare as in your ponch picture is a whole separate migraine trigger set. You must be working in a "perfect storm" of migraine triggers. Been there done that, so I know your pain. (Not the helicopter thing though!)
Bleed nipples on the top Dennis.
If in doubt, flat out. Colin Mc Rae MBE 1968-2007.
Give a car more power and it goes faster on the straights,
make a car lighter and it's faster everywhere. Colin Chapman.
|
|
Total posts: 9544
Last post: Apr 24, 2024 Member since:Aug 14, 2002
|
Cars in Garage: 0
Photos: 0 WorkBench Posts: 0 |
|
DANG!
OK. next tip: when you get to putting the caliper on, make sure they ae on the right side of the car and that the bleeders are in the right location.
Hope the migraines go away. Being so small and close to the ground, Minis are hard enough to work on and can generate postural headaches (sore neck from working at a bad angle etc.). Working in heat and glare as in your ponch picture is a whole separate migraine trigger set. You must be working in a "perfect storm" of migraine triggers. Been there done that, so I know your pain. (Not the helicopter thing though!)
.
"Hang on a minute lads....I've got a great idea."
|
|
Total posts: 678
Last post: Sep 29, 2022 Member since:Apr 26, 2011
|
Cars in Garage: 0
Photos: 0 WorkBench Posts: 0 |
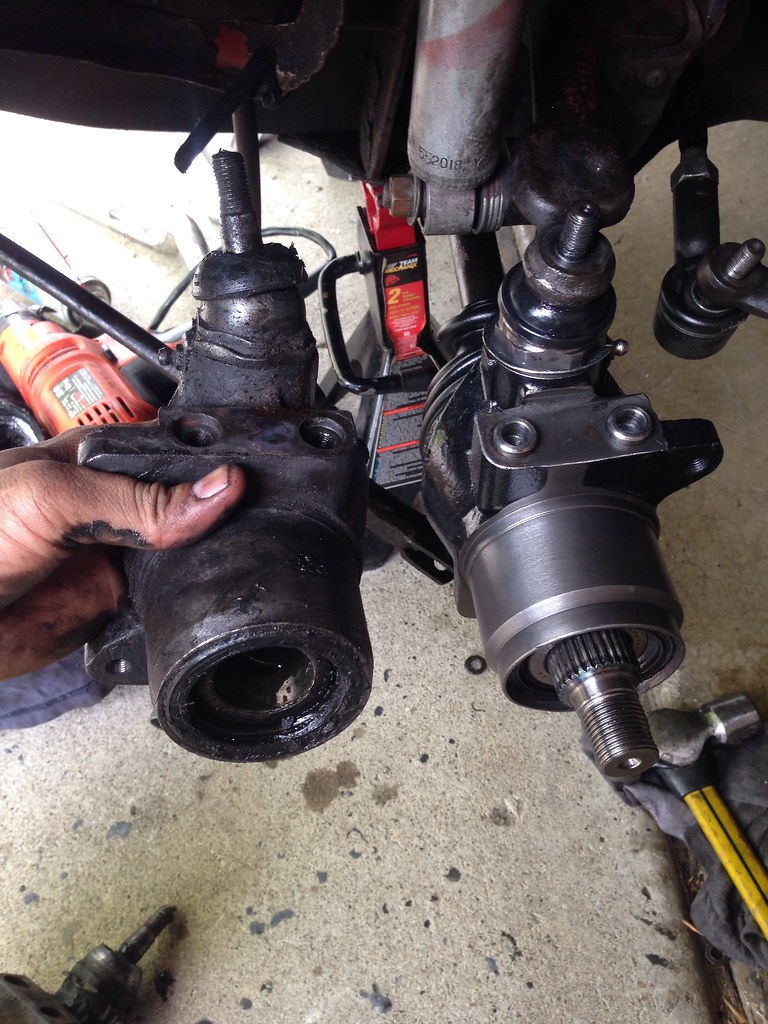
I usually don't make mistakes when I'm doing mechanical work on military helicopters or cars but today was special. I managed to forget which assembly goes where. The left is supposed to go on left and vice versa. So I had to pull the whole thing off and wasted a good day for this. But then again it's my first time. Enough with excuses. Please don't be like me.
|
|
Total posts: 70
Last post: Oct 30, 2017 Member since:Sep 23, 2014
|
Cars in Garage: 0
Photos: 0 WorkBench Posts: 0 |
From my experiance, don't bother painting the Calipers! What a pain in the ass. The caliper metal comes pre-treated and paint won't stick to them. It took forever to get mine suitable for painting and even then they chipped. I wish I had left mine plain, I need to go in now and touch up the chipped areas that chipped simply because the primer and paint just wouldn't stick to the Caliper even with some serious pre-work.
|
|
Total posts: 678
Last post: Sep 29, 2022 Member since:Apr 26, 2011
|
Cars in Garage: 0
Photos: 0 WorkBench Posts: 0 |
Dennis it is easier to install the ball joints into the uprights before you attach the rest of the brakes.
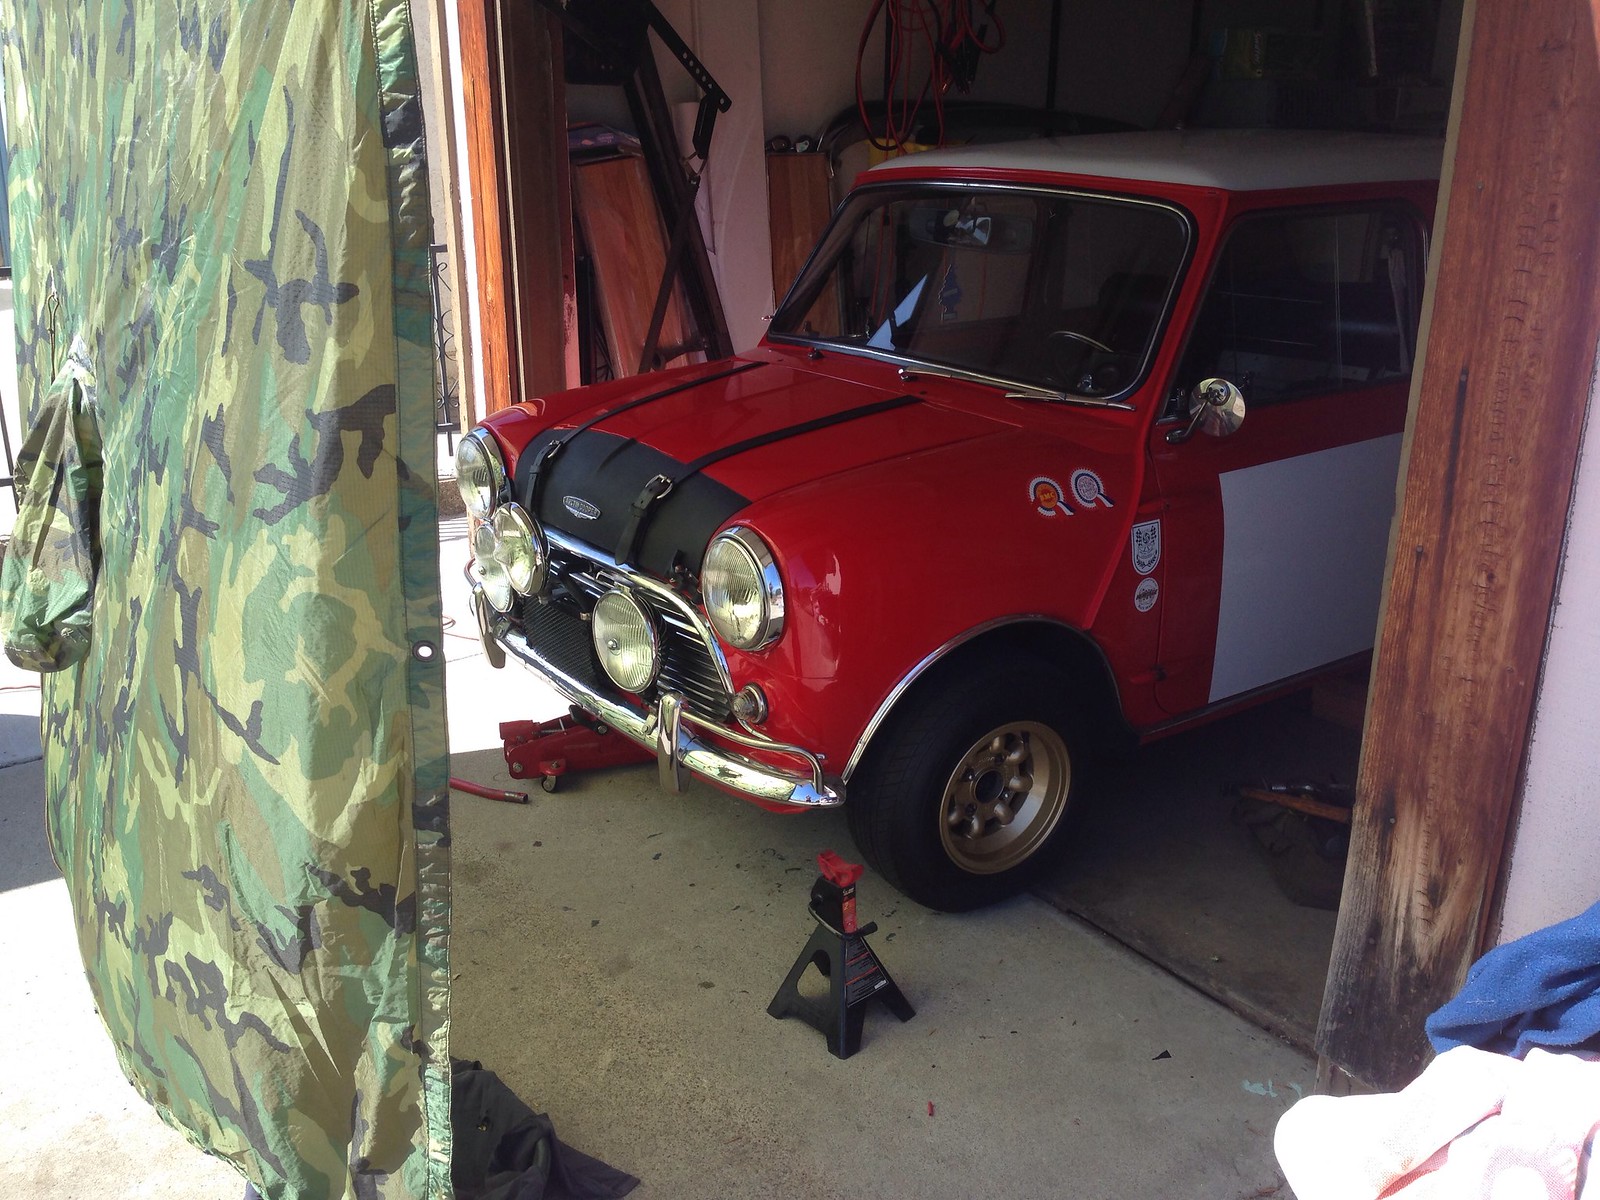
Roger. Thanks Malcolm! Its gonna be hot again today. So I pulled my old poncho out hehe.
|
|
Total posts: 8382
Last post: Jan 13, 2022 Member since:Feb 7, 2006
|
Cars in Garage: 0
Photos: 0 WorkBench Posts: 0 |
|
Dennis it is easier to install the ball joints into the uprights before you attach the rest of the brakes.
If in doubt, flat out. Colin Mc Rae MBE 1968-2007.
Give a car more power and it goes faster on the straights,
make a car lighter and it's faster everywhere. Colin Chapman.
|
|
Total posts: 678
Last post: Sep 29, 2022 Member since:Apr 26, 2011
|
Cars in Garage: 0
Photos: 0 WorkBench Posts: 0 |
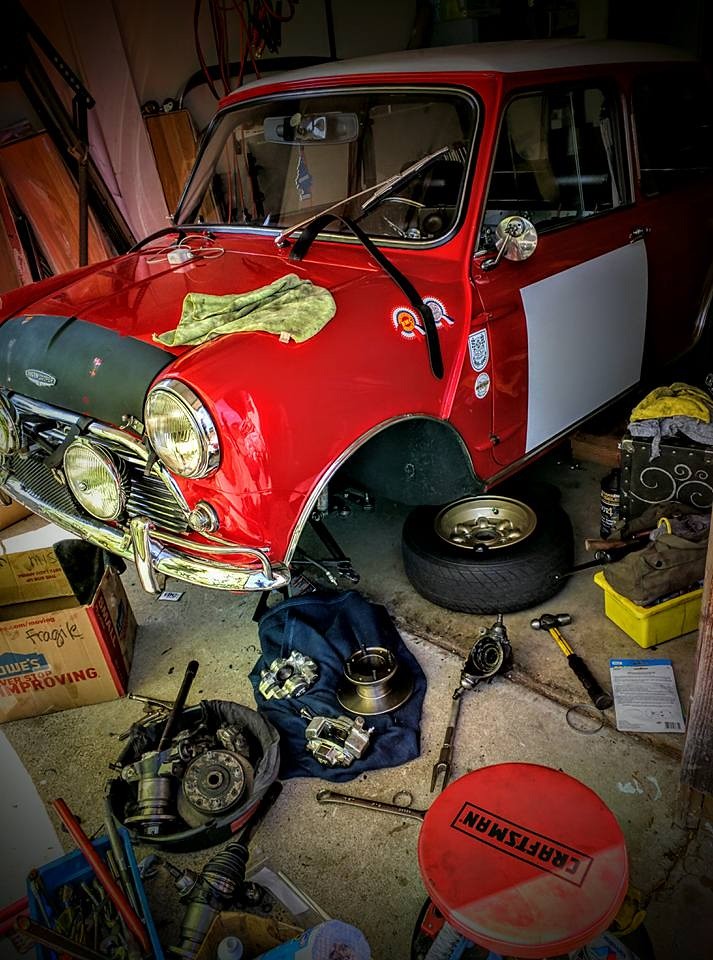
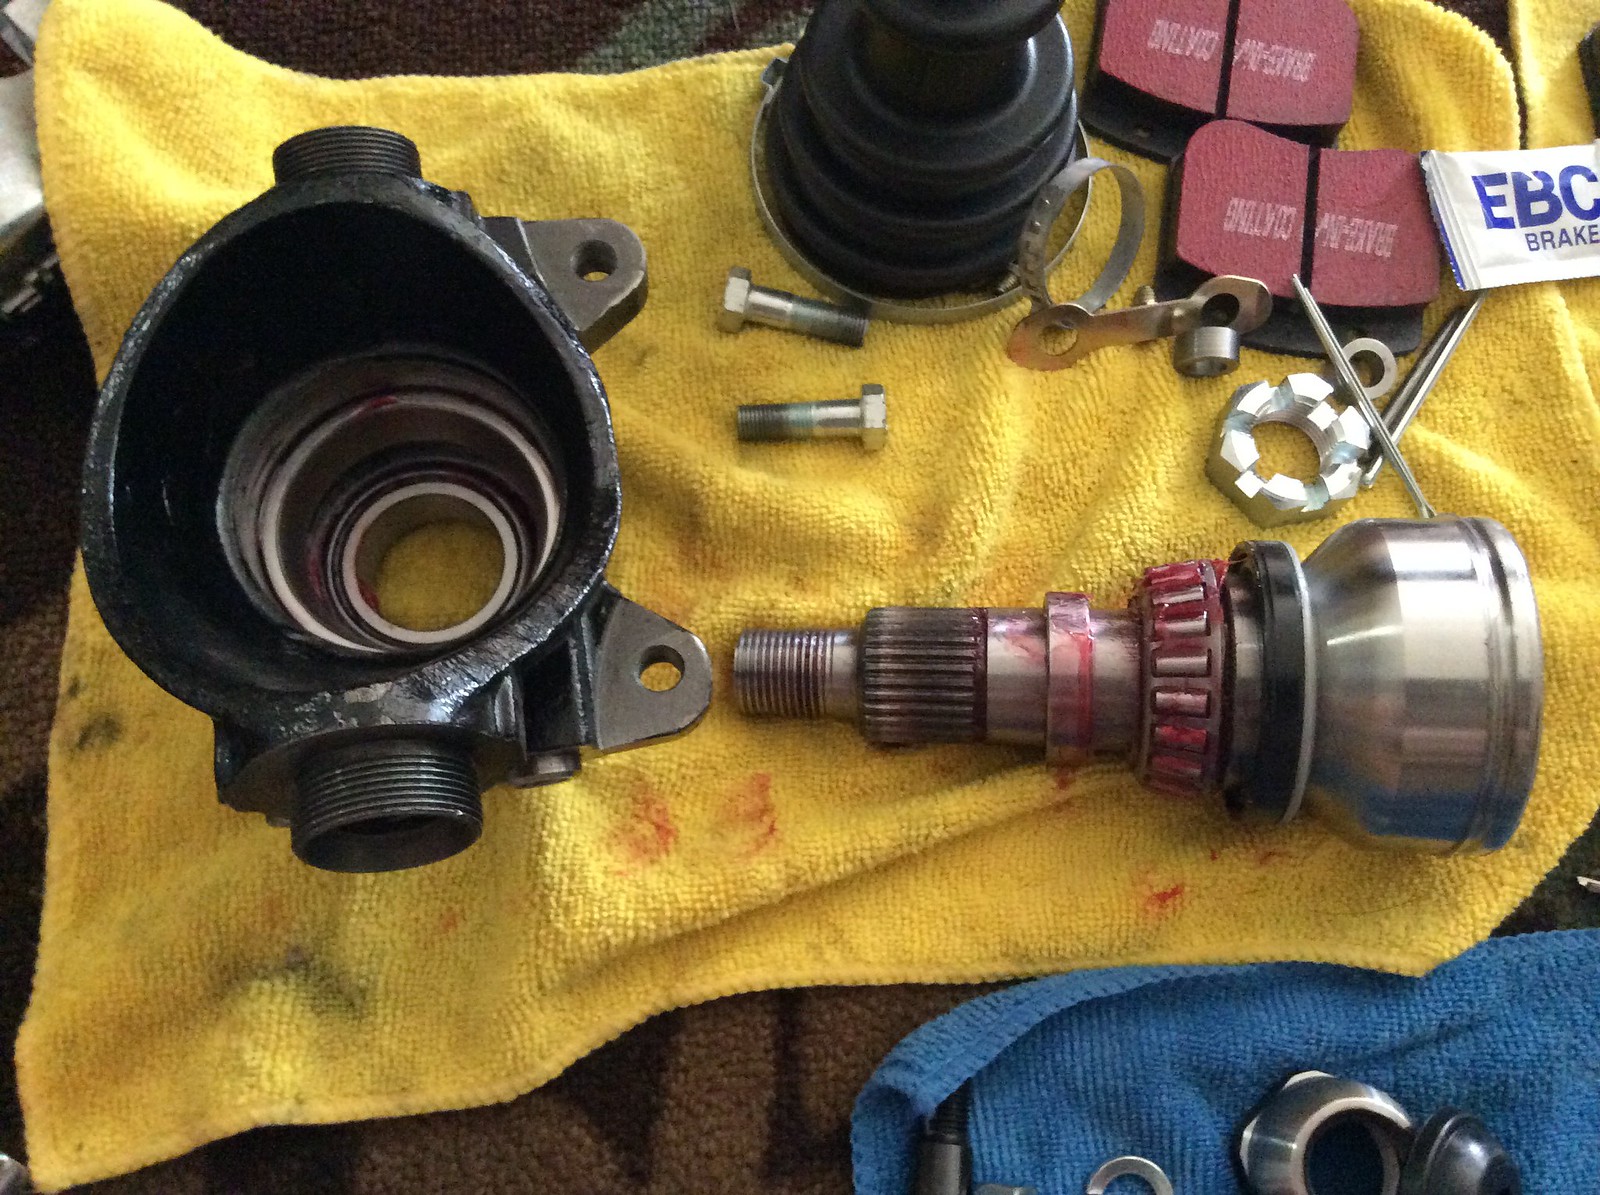
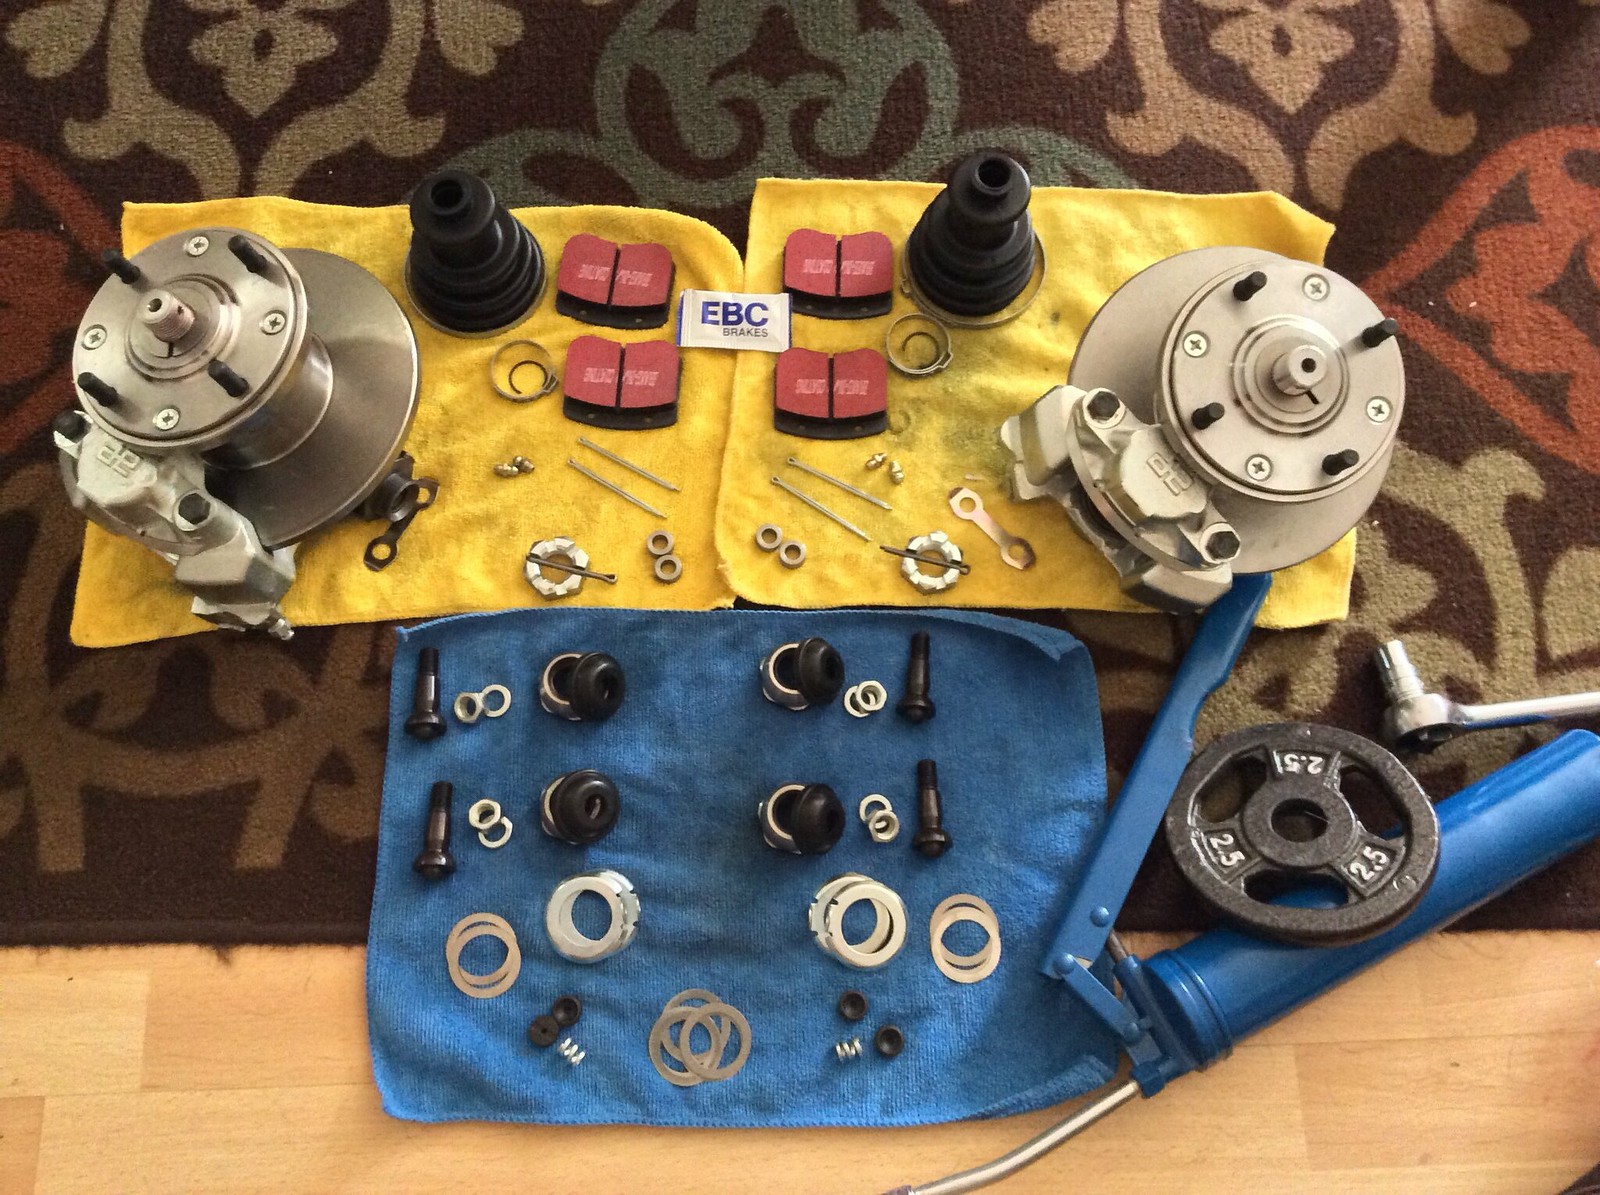
Heavy box arrived. Lots of shiny parts. Will paint calipers later. Checking and sorting every hardware fits before installing it. Ive been having migraines lately so Im gonna take my time on this. And yes I know finger tight to line up hole then cotterkey on that castle nut. This is a lot easier than working on military helicopters. It just looks intimidating at first lol. I'll post or message you guys if I get stuck on something.
*Dumbell plate not included in the parts I ordered.
|
|
Total posts: 678
Last post: Sep 29, 2022 Member since:Apr 26, 2011
|
Cars in Garage: 0
Photos: 0 WorkBench Posts: 0 |
Found this 3D presentation of the exploded wheel hub assembly. can't go wrong now ![]()
|
|
Total posts: 147
Last post: Mar 19, 2018 Member since:Feb 18, 2010
|
Cars in Garage: 1
Photos: 39 WorkBench Posts: 1 |
|
I use 8.4 inch discs vented with 4 pot calipers and 3/4 inch wheel cylinders in he rear with the big drum brakes. I do not have a servo and really don't need one. The car stops on a dime. I used to have a mk1/2 servo but really never noticed much difference.
|
|
Total posts: 4134
Last post: Oct 13, 2020 Member since:Oct 8, 2011
|
Cars in Garage: 0
Photos: 0 WorkBench Posts: 0 |
|
Got a smile out of it myself. I buy the best quality disc I can find. For race cars and ones that may be hard on things I send disc to Ga. for cryogenic treatment. I do mask off the disc faces as well as the mounting to flange surface and paint with high temp paint then cure in oven. A customer was in shop friday and found this practice silly "they are just brakes". It would be a good idea to use 5/8 rear wheel cyls. to balance braking. When I converted my drum brake 85 1000E to 7.5 S fronts the rears would loc when I had less than half a tank of fuel. Having a large left and S right tank helped when full.
My brake system has evolved, Started as a drum car, I installed 7.5 S parts followed by adding 5/8 cyls. In time I picked up a late torque tube lhd all in one master/booster kit. Having piles of Rover 12 inch wheels and tires I have been using up those and have become used to the look. I recently picked up a set of Torex vented disc and alloy four pot calipers. That would mean 12s from now on. Having a small wheel Moke and a 1071 S I should be fine with 12s on my driver. I feel you have made a wise investment in your safety. Steve (CTR)
|
|
Total posts: 678
Last post: Sep 29, 2022 Member since:Apr 26, 2011
|
Cars in Garage: 0
Photos: 0 WorkBench Posts: 0 |
Lots of good information to consider here and I appreciate it all. thank you ![]()
|
|
Total posts: 1850
Last post: Apr 13, 2024 Member since:Feb 24, 2002
|
Cars in Garage: 0
Photos: 1 WorkBench Posts: 0 |
|
With all due respect to MiniMike1 (who has been around forever and knows his stuff) I would never paint the braking surface of a brake rotor and rely on the brake pads to clear the way. My concern is how this could effect bedding in of the pads and possibly contaminating the pad material. Take that for what it's worth, just another opinion to filter through.
|
|
Total posts: 6909
Last post: Apr 13, 2024 Member since:Feb 26, 1999
|
Cars in Garage: 0
Photos: 0 WorkBench Posts: 0 |
|
paint all the parts before you install them. Rotors too. the pads will clean up the area they touch and the rest of the rotor will remain rust free.


