
| Orig. Posting Date | User Name | Edit Date |
| Aug 5, 2019 01:31PM | Jemal | |
| Aug 5, 2019 12:32PM | Dan Moffet | |
| Aug 5, 2019 11:16AM | Jemal | Edited: Aug 5, 2019 11:18AM |
| Aug 2, 2019 05:52PM | TRP | |
| Aug 2, 2019 03:16PM | thewerewolf | |
| Aug 2, 2019 05:48AM | TRP | |
| Jul 30, 2019 12:51PM | croc7 | |
| Jul 30, 2019 09:51AM | TRP | |
| Jul 29, 2019 08:10PM | croc7 | |
| Jul 29, 2019 04:30PM | dklawson | |
| Jul 29, 2019 03:26PM | malsal | Edited: Jul 29, 2019 03:29PM |
| Jul 29, 2019 02:23PM | TRP | |
| Jul 29, 2019 01:47PM | malsal | Edited: Jul 29, 2019 01:50PM |
| Jul 29, 2019 12:39PM | dklawson | |
| Jul 29, 2019 11:31AM | TRP | |
| Jul 27, 2019 06:04PM | dklawson | |
| Jul 27, 2019 11:46AM | TRP | |
| Jul 24, 2019 02:50PM | CooperTune | |
| Jul 24, 2019 01:07PM | croc7 | Edited: Jul 24, 2019 01:10PM |

|
Total posts: 1087
Last post: Sep 15, 2023 Member since:Nov 3, 2011
|
Cars in Garage: 0
Photos: 0 WorkBench Posts: 0 |
|
|
|
Total posts: 9542
Last post: Apr 18, 2024 Member since:Aug 14, 2002
|
Cars in Garage: 0
Photos: 0 WorkBench Posts: 0 |
|
.
"Hang on a minute lads....I've got a great idea."
|
|
Total posts: 1087
Last post: Sep 15, 2023 Member since:Nov 3, 2011
|
Cars in Garage: 0
Photos: 0 WorkBench Posts: 0 |
|
|
|
Total posts: 53
Last post: Nov 24, 2020 Member since:Sep 26, 2018
|
Cars in Garage: 0
Photos: 0 WorkBench Posts: 0 |

I was on the fence about pulling the head. Unfortunately when I pulled the valve cover off I noticed that the number 3 exhaust valve looked a little bit 'off'. Have a look. It appears as though it's mushroomed a bit. Looks like I'll be pulling the head and sending it off to the machine shop.
Not what I wanted to do but after finding this I think it's the best thing. All other valves and rockers look great.
Oh, motor is a listed as the MiniMania "High Performance" 1275
- High compression (9.75:1) performance pistons.
- Aluminum cylinder head.
- A fast road camshaft (276 degrees duration)
On top of that someone added the 1.5 ratio rockers and dual valve springs by Esky.
7 hardened valves and 1 not so hardened.
|
|
Total posts: 3919
Last post: Oct 29, 2019 Member since:Oct 4, 2013
|
Cars in Garage: 0
Photos: 0 WorkBench Posts: 0 |
|
|
Total posts: 53
Last post: Nov 24, 2020 Member since:Sep 26, 2018
|
Cars in Garage: 0
Photos: 0 WorkBench Posts: 0 |
They are about 2x the size of a pencil eraser. I'm taking the car to the paint shop this morning to have them look at a few blemishes in the new paint. After that I'll pop the valve cover and get a better idea of what I'm working with. I'm on the fence about pulling the head and sending it out for rework.
thanks again!
Ted
|
|
Total posts: 834
Last post: Mar 7, 2023 Member since:Aug 15, 2002
|
Cars in Garage: 0
Photos: 0 WorkBench Posts: 0 |
|
|
|
Total posts: 53
Last post: Nov 24, 2020 Member since:Sep 26, 2018
|
Cars in Garage: 0
Photos: 0 WorkBench Posts: 0 |

|
|
Total posts: 834
Last post: Mar 7, 2023 Member since:Aug 15, 2002
|
Cars in Garage: 0
Photos: 0 WorkBench Posts: 0 |
|
|
|
Total posts: 9241
Last post: Aug 17, 2023 Member since:Jun 5, 2000
|
Cars in Garage: 0
Photos: 0 WorkBench Posts: 0 |
|
Also when compressing the valves rest a magnet against the spring so you don't loose any keepers.
Good idea with the magnet. I used magnets to pluck the collets off the valve stem. It never occurred to me to use a magnet to keep the collets from becoming projectiles.
|
|
Total posts: 8382
Last post: Jan 13, 2022 Member since:Feb 7, 2006
|
Cars in Garage: 0
Photos: 0 WorkBench Posts: 0 |
|

I picked up 10 seals (8 for the valves and two extras in case I bork a couple of them.)
I suppose if the valves wiggle I can just go forward and remove the head.
Ted
If you are going to loosen up and remove the rocker shaft be sure to drain a good portion of the water and anti freeze out of the system as it may help with any possible head gasket seepage.
Also when compressing the valves rest a magnet against the spring so you don't loose any keepers.
If in doubt, flat out. Colin Mc Rae MBE 1968-2007.
Give a car more power and it goes faster on the straights,
make a car lighter and it's faster everywhere. Colin Chapman.
|
|
Total posts: 53
Last post: Nov 24, 2020 Member since:Sep 26, 2018
|
Cars in Garage: 0
Photos: 0 WorkBench Posts: 0 |
I picked up 10 seals (8 for the valves and two extras in case I bork a couple of them.)
I suppose if the valves wiggle I can just go forward and remove the head.
Ted
|
|
Total posts: 8382
Last post: Jan 13, 2022 Member since:Feb 7, 2006
|
Cars in Garage: 0
Photos: 0 WorkBench Posts: 0 |
|
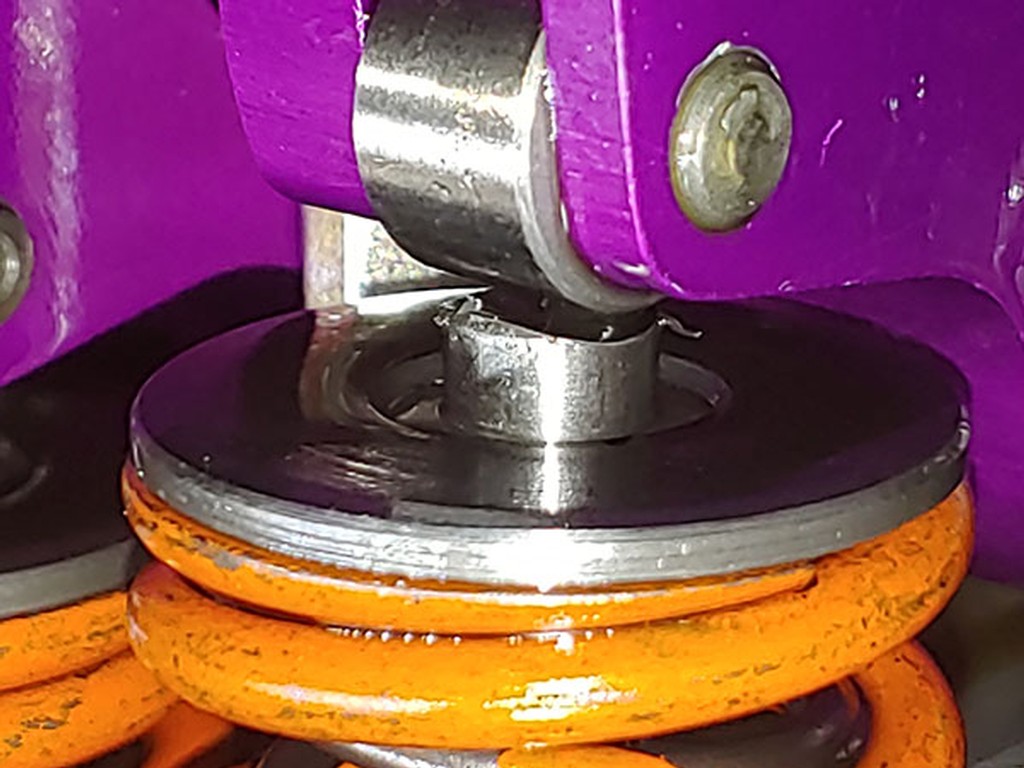
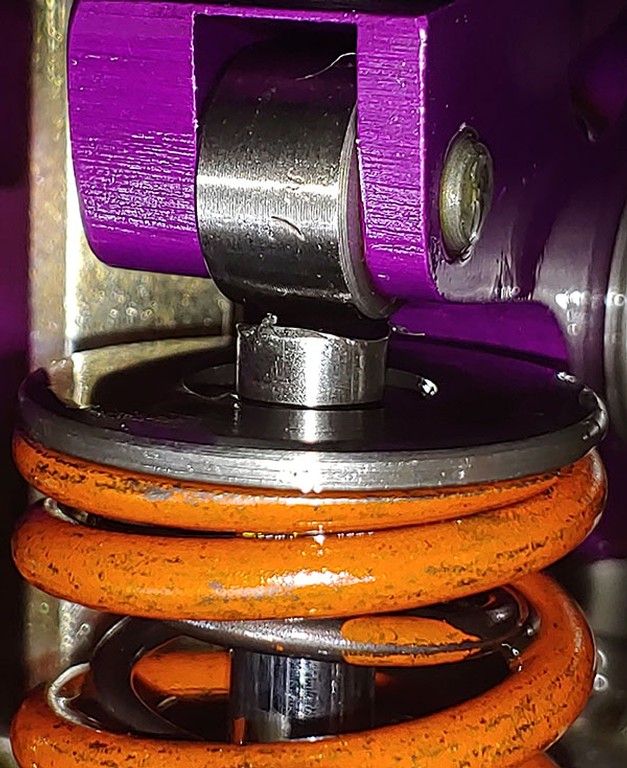
There is also a small overhead valve spring compressor that you use a wheel to compress the spring that works well.
If in doubt, flat out. Colin Mc Rae MBE 1968-2007.
Give a car more power and it goes faster on the straights,
make a car lighter and it's faster everywhere. Colin Chapman.
|
|
Total posts: 9241
Last post: Aug 17, 2023 Member since:Jun 5, 2000
|
Cars in Garage: 0
Photos: 0 WorkBench Posts: 0 |
|
https://images-na.ssl-images-amazon.com/images/I/51tCSuihiLL._SX466_.jpg
Remove the rocker cover and all the spark plugs. Completely loosen each valve adjuster screw. Feed about 1 foot of clean cotton rope into one cylinder through the spark plug hole (leave several inches hanging out of the plug hole). Turn the engine over BY HAND until you feel the piston squish the rope against the bottom side of the head. Then slide the rocker arm sideways against the spacer spring and fit the compressor to the rocker shaft. Push the lever arm of the compressor down to compress the spring and use a strong magnet to pick the collets off the valve stem. The rockers on the very ends of the shaft have to be removed (cotter pins and washers). The rope will hold the valves up while you do all of this. Fit the new guide seals and reverse these steps to complete the installation. Remember to turn the engine backwards a small bit so you can remove the rope and move on to the next cylinder.
Buy the later model Viton seal with the garter spring on the top of the seal (link below).
https://www.minimania.com/part/LJQ101160/Classic-Austin-Mini-Valve-Stem-Seal-Late-Mpi-Type-Viton
Is it worth it? Maybe. It will only cost you about $20 in parts and probably another $25 or $30 for the tool to try this. If it works... great. If the oil burning continues... it was not the seals. If it is better for a while and then the smoke returns, you can plan on removing the head and having new guides installed.
|
|
Total posts: 53
Last post: Nov 24, 2020 Member since:Sep 26, 2018
|
Cars in Garage: 0
Photos: 0 WorkBench Posts: 0 |
Hey Doug,
Thanks for the reply. The car sat for 20 years in a warehouse in Washington prior to my purchasing it. The motor itself has very few miles on it. I'm wondering if it's worth it to try the seals and then pull the head if necessary? Is this a fools errand? I've never pulled a water cooled head before. Seems relatively straight forward.
I've seen a few different types of spring compressors. Some use a hammer to whack the spring to pull or insert the keepers. Yikes. Others compress the spring by grabbing the spring itself and then pinching it (no lever/fulcrum). Aside from those two tools, can you link me to an example of the type you were referring to?
Thanks again!
Ted Pierson
Morgan Hill, CA
|
|
Total posts: 9241
Last post: Aug 17, 2023 Member since:Jun 5, 2000
|
Cars in Garage: 0
Photos: 0 WorkBench Posts: 0 |
|
However, if the seals have failed there is also a good chance that the guides are worn. Try the new seals but if the smoke returns relatively quickly you can anticipate head work in the future.
|
|
Total posts: 53
Last post: Nov 24, 2020 Member since:Sep 26, 2018
|
Cars in Garage: 0
Photos: 0 WorkBench Posts: 0 |
Can the valve seals be replaced with the head on the car or do I need to pull the head? The motor is a healthy 1275cc with an aluminum head. I'm assuming the seals dried out due to the previous owner having let the car sit for 20 years.
i'd prefer not to pull the head because its running great other than the occasional 2 stroke imitation.
Ted
|
|
Total posts: 4134
Last post: Oct 13, 2020 Member since:Oct 8, 2011
|
Cars in Garage: 0
Photos: 0 WorkBench Posts: 0 |
|
|
|
Total posts: 834
Last post: Mar 7, 2023 Member since:Aug 15, 2002
|
Cars in Garage: 0
Photos: 0 WorkBench Posts: 0 |
|


