

| Orig. Posting Date | User Name | Edit Date |
| Jun 26, 2017 03:04AM | helpmymini | |
| May 19, 2017 05:33AM | dklawson | |
| May 19, 2017 03:37AM | jedduh01 | |
| May 18, 2017 05:27PM | helpmymini | |
| May 18, 2017 04:51PM | dklawson | |
| May 18, 2017 03:38PM | Jemal | |
| May 18, 2017 11:54AM | jedduh01 | Edited: May 19, 2017 05:13AM |

|
Total posts: 3862
Last post: Dec 2, 2019 Member since:Apr 26, 2005
|
Cars in Garage: 0
Photos: 0 WorkBench Posts: 0 |
|
Yesterday I took the rack out (man, it was really easy this time) and found the bushing moved way over to the outer edge of the housing. I inspected it and saw nothing wrong so I pressed it back in, WAY into the rack. I still had the screw so I installed that too. Put it all together and now have NO noise, TIGHT wheels and a quicker car. Quicker because I'm not scrubbing expensive rubber by plowing!
Every part of that car was there for a reason. Shame on me for forgetting a step and thinking it wouldn't matter.
P.S. Don't know if I mentioned I machined the new bushing from a slightly larger piece of nylon. Looks to be holding up nicely when it's in place!
|
|
Total posts: 9241
Last post: Aug 17, 2023 Member since:Jun 5, 2000
|
Cars in Garage: 0
Photos: 0 WorkBench Posts: 0 |
|
The split hose can be installed without completely taking the rack apart which makes this repair possible with the rack on the car. I did my Delrin bushing repair/installation with the rack installed but it was a pig of a job to handle working on my back under the car.
I remember something about the three contact lobes of the later factory bushings having grooves on them to fit the part without holding tight tolerances. If I am remembering that correctly, the three lobes should help dampen vibration a bit but more importantly, the flats between them will allow oil circulation.
|
|
Total posts: 1650
Last post: Oct 22, 2024 Member since:Apr 30, 2009
|
Cars in Garage: 0
Photos: 0 WorkBench Posts: 0 |
|
Years ago there was a member here who ran Dean Brothers Garage (or something similar). They proposed a fix that I wish I had used. They removed the metal ring as you suggested. They bought a short piece of hydraulic hose whose inside diameter just fit the rack and split it lengthwise with a razor blade. Then they used a disk grinder to reduce the outside diameter to fit inside the metal ring. Finally they cut some axial grooves on the outside diameter of the hose to allow oil to move back and forth.
The piece of hose was installed on the rack and secured with the metal ring. The fact that it was split axially meant it could be installed without removing the rod end from the rack. The hose dampens out vibrations better than a solid bushing and eliminates the "clunk" that happens when the original bushing fails.
In summary, the hose bushing was cheap and easy to fabricate and I wish I had used that method instead of machining a bushing from Delrin.
In wisdom you have shared to the mini community = i was using some old posts you also had made for the ideas to remove and repair.
Valuable information all around.... I too read one where you discussed the hydrolic hose and was going to fully take that route.. but hey = the ' mini' busing was in my spares bin... So for now = i have gone ahead with it. The fit both ID and OD was Perfect.
Im Wondering = the mini bushing isnt fully ROUND but is actually = triangle ish... flat on 3 sides. I wonder if that will allow some 'Give" to avoid Super hard knocking or issues.
Time will tell. This was an 8$ solution that mini suppliers have on hand + will get a rack serviceable again... This car isnt going to see a' hard knock life when back on the road.
|
|
Total posts: 3862
Last post: Dec 2, 2019 Member since:Apr 26, 2005
|
Cars in Garage: 0
Photos: 0 WorkBench Posts: 0 |
|
|
|
Total posts: 9241
Last post: Aug 17, 2023 Member since:Jun 5, 2000
|
Cars in Garage: 0
Photos: 0 WorkBench Posts: 0 |
|
Years ago there was a member here who ran Dean Brothers Garage (or something similar). They proposed a fix that I wish I had used. They removed the metal ring as you suggested. They bought a short piece of hydraulic hose whose inside diameter just fit the rack and split it lengthwise with a razor blade. Then they used a disk grinder to reduce the outside diameter to fit inside the metal ring. Finally they cut some axial grooves on the outside diameter of the hose to allow oil to move back and forth.
The piece of hose was installed on the rack and secured with the metal ring. The fact that it was split axially meant it could be installed without removing the rod end from the rack. The hose dampens out vibrations better than a solid bushing and eliminates the "clunk" that happens when the original bushing fails.
In summary, the hose bushing was cheap and easy to fabricate and I wish I had used that method instead of machining a bushing from Delrin.
|
|
Total posts: 1087
Last post: Sep 15, 2023 Member since:Nov 3, 2011
|
Cars in Garage: 0
Photos: 0 WorkBench Posts: 0 |
|
|
|
Total posts: 1650
Last post: Oct 22, 2024 Member since:Apr 30, 2009
|
Cars in Garage: 0
Photos: 0 WorkBench Posts: 0 |
|
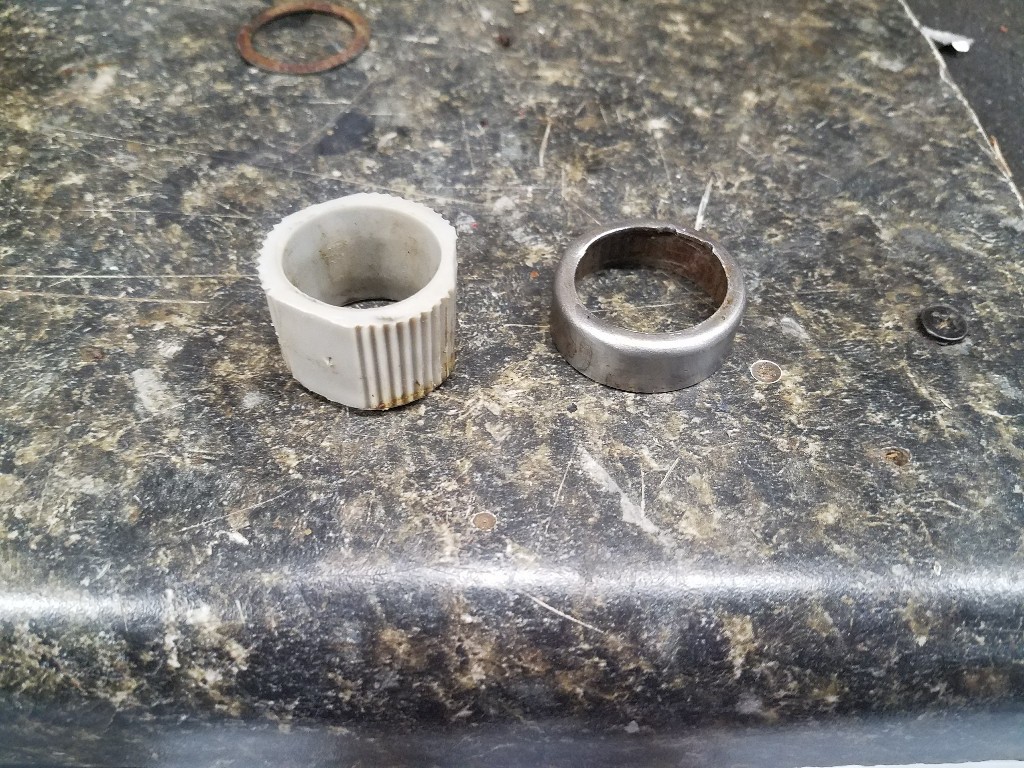
That busing in the end of the rack is really a metal ring =with cork insert to keep the shaft tight.
Drys out = fails = knocking rack
Just FYI for all...
While Fixing up a Mk1 = I found this bushing dead.
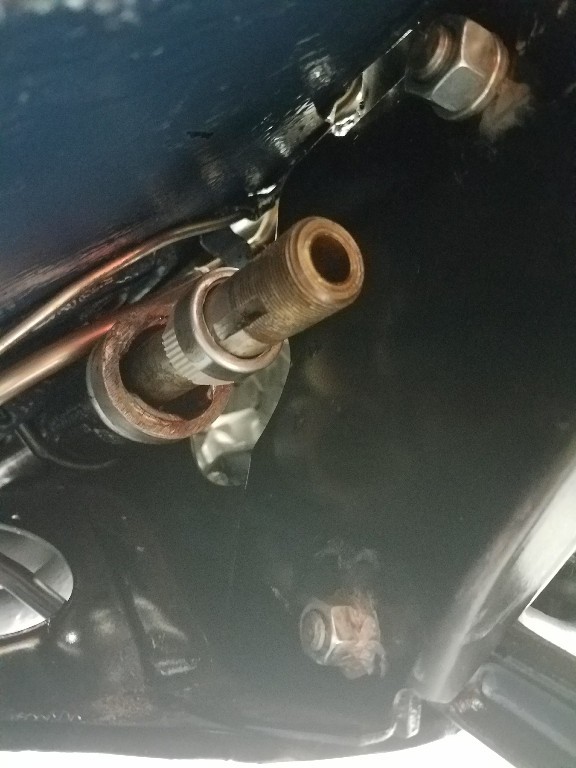
wanted to fix... did the normal procedure to remove the metal bushing ring.. ( long deck screws + washers wedged between the rack Shaft and the bushing use the rack to push out the ring... ) it worked.
Clean out the old cork material.
In this case= I have heard there are different racks ..
For this repair a Later mk 2-on rack bushing WILL FIT. but It must be modified slightly to fit inside the ring.
https://www.minimania.com/part/37H8064/Classic-Austin-Mini-Cooper-bush-Nylon-Steering-Rack
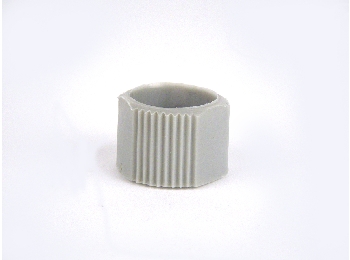
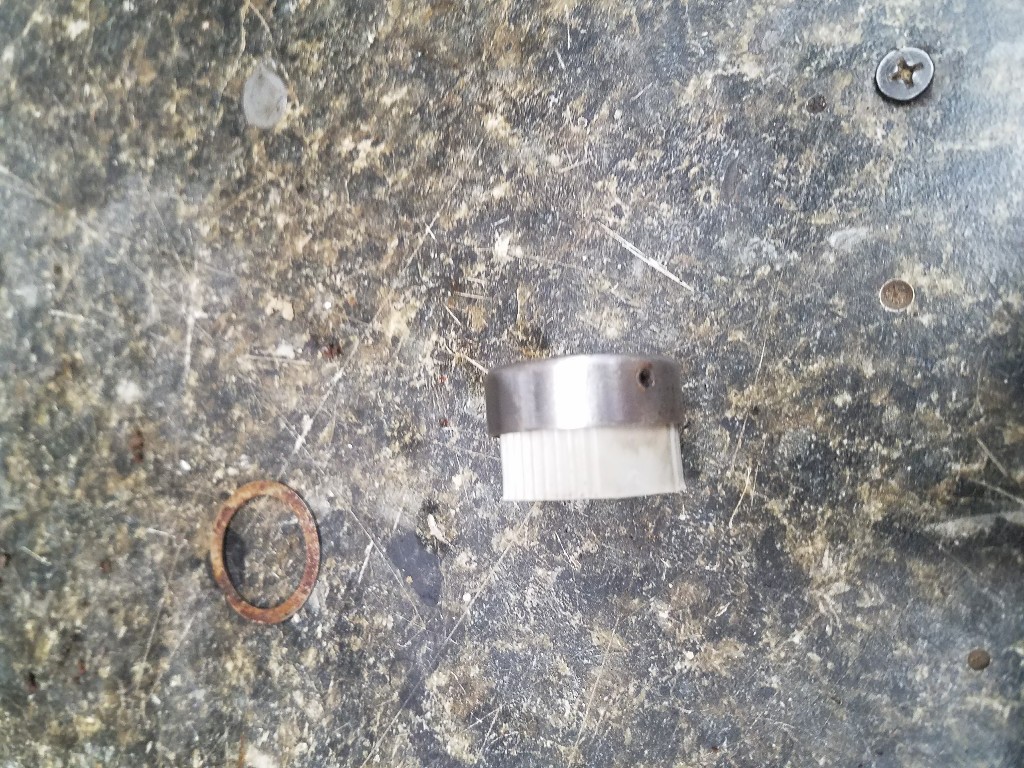
This bushing fit Perfectly inside my = lock ring. But is too wide overall
Cut bushing nylon down to the' Ring width and THIS will fix that perished bushing in your mk1 rack. The ID of the busing is EXACTLY right for the rack size.
The ring holds the nylon bush in place.
Note on re installation= mark your metal ring= on the edge so you know where the small phillips set screw hole is oriented. you must put this set screw back in + algin the hole back for re assembly and holding the bushing in place
Beautiful Fix...


