


I started tack welding the shell back together in November and it’s now early March. I mightbe half way done. To say it’s been slow going would be an understatement.
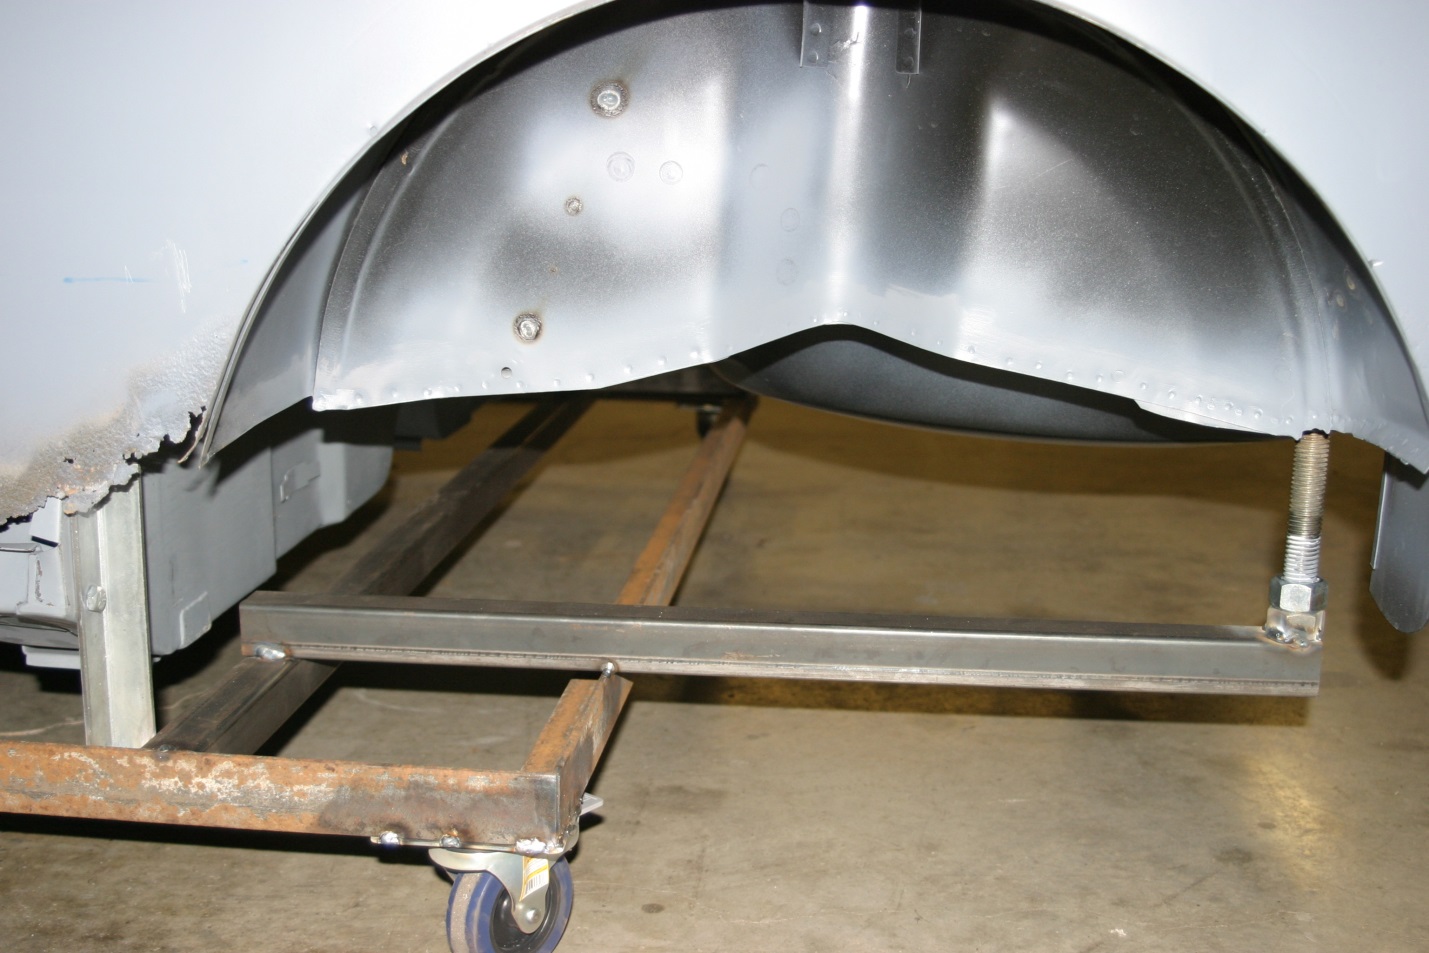 To restore a shell, you’ll need some metal frameworkto hold the floor pan otherwise you’ll be using wooden 4 x 4’s - which tend to catch fire when you light up your welding rig.
The dimensions are of course, critical. Otherwise your car will be crooked and stuff won’t fit. Like most Minis. There are some wonderful online sources with critical measurements, how far from this hole to that hole. With this information, you basically weld up a bed frame that bolts to a Mini. The one pictured was barely sufficient to fix one car. The one I saw from Mini Machine in the U.K. looked more like setting a Mini on railroad tracks – very substantial and very adjustable for different cars. But the idea is the same.
Rule #1: Replace one panel at a time
Let’s say the rusted and dented front driver floor in your car needs to be replaced. The hump is good, the foot board is good and the other three quarters of the floor is too. No problem, cut out the offending quarter section and tack in a replacement. No bloodshed. Done. Lucky you!
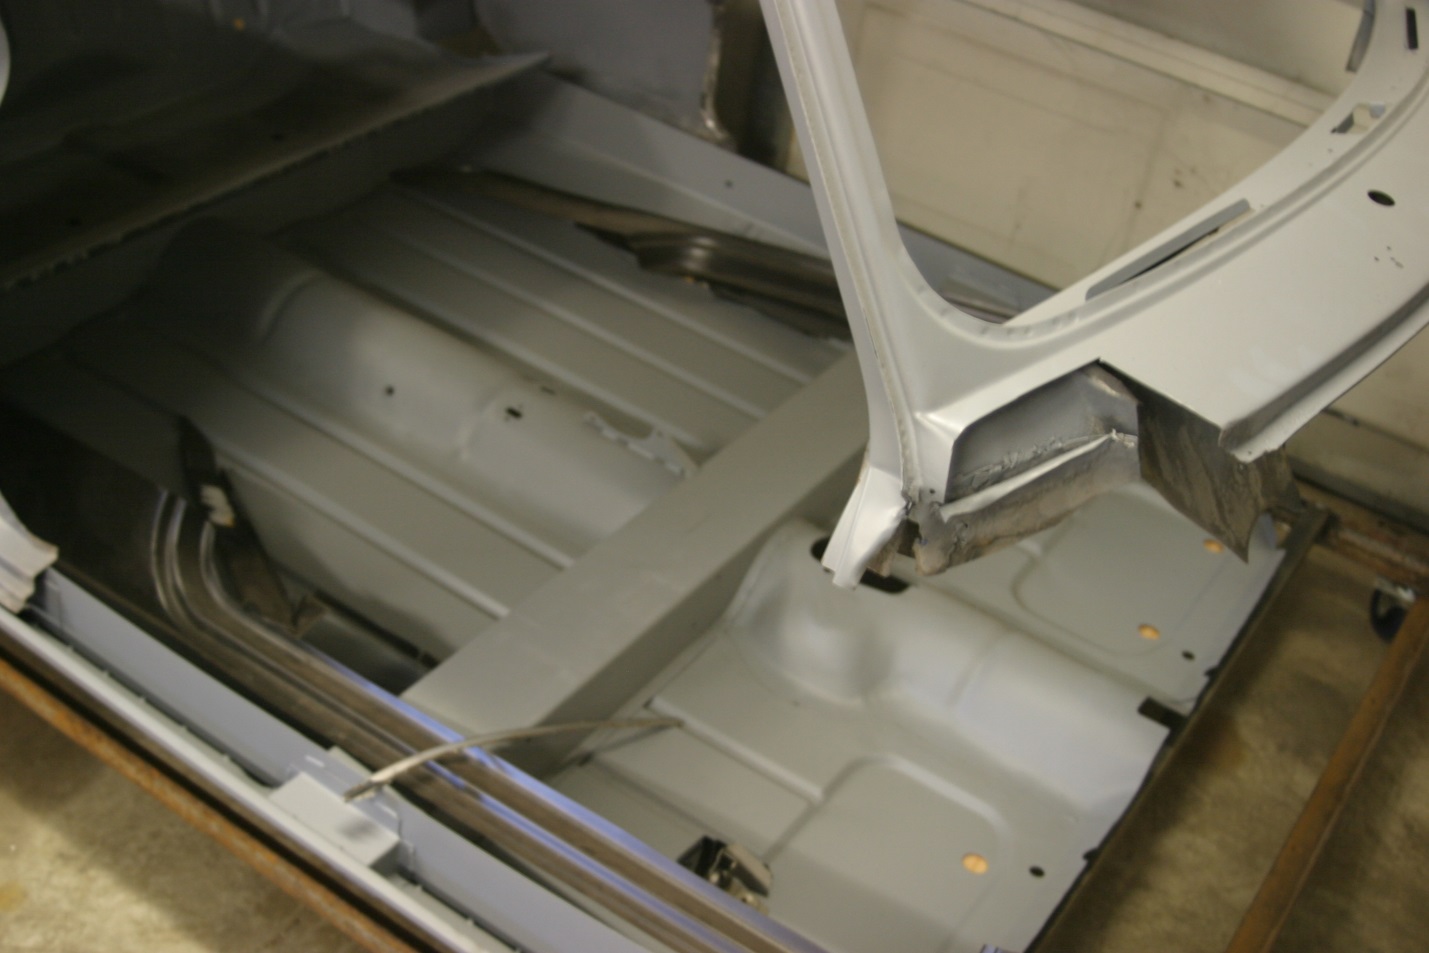
In the case of this car it was impossible to replace one panel at a time, which is conventionally wise. Let’s call the floor pan “ground zero”. Everything is welded to it. The front and rear sub frames bolt to it. However this floor pan was no longer straight and true. It was bowed in the middle, not to mention quite rusty. What if it’s already been repaired by a tree full of beer swilling, banana throwing chimpanzees? Do you attach your good work to bad? No.
Rule #2: A roll-bar-like framework
Tacking in some type of reinforcement to keep the dimensions original is sound advice too. I did this for the trip to the metal stripper so it would be harder for them to bend it. Nothing on my car was straight however, so framing up a crooked car didn’t make much sense. As a result, I was off the reservation from the start. Readers, you can chuckle at me or with me, I deserve it.
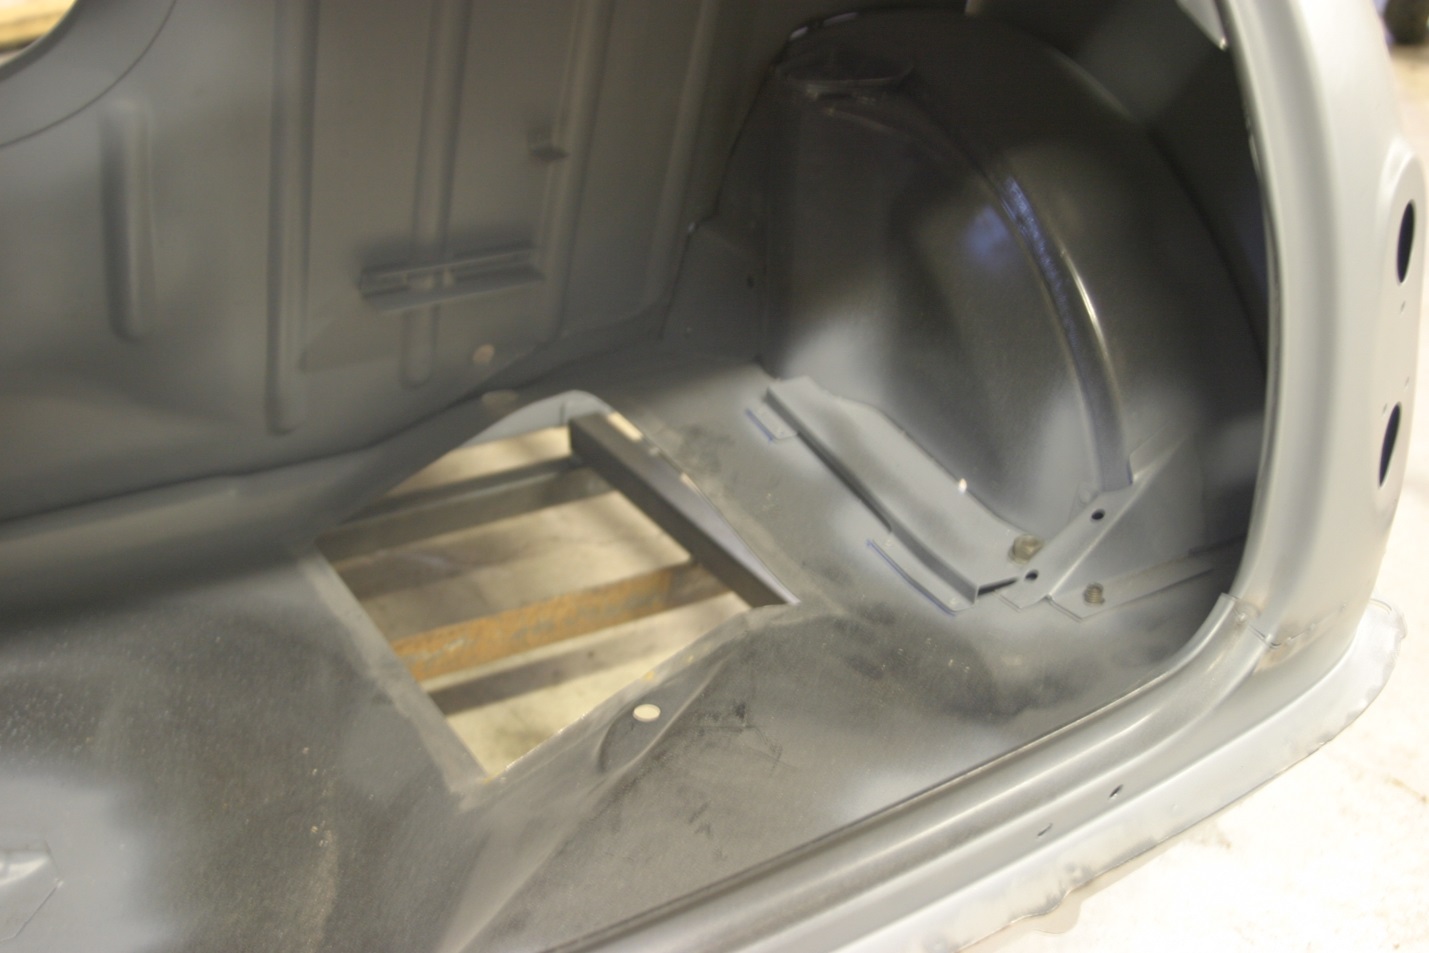
The original boot floor had been an impressive patchwork of prior repairs, so there was no point in keeping it. Here you see mostly new stuff except I repaired the rusty lower corners of the seat brace rather than replacing it.
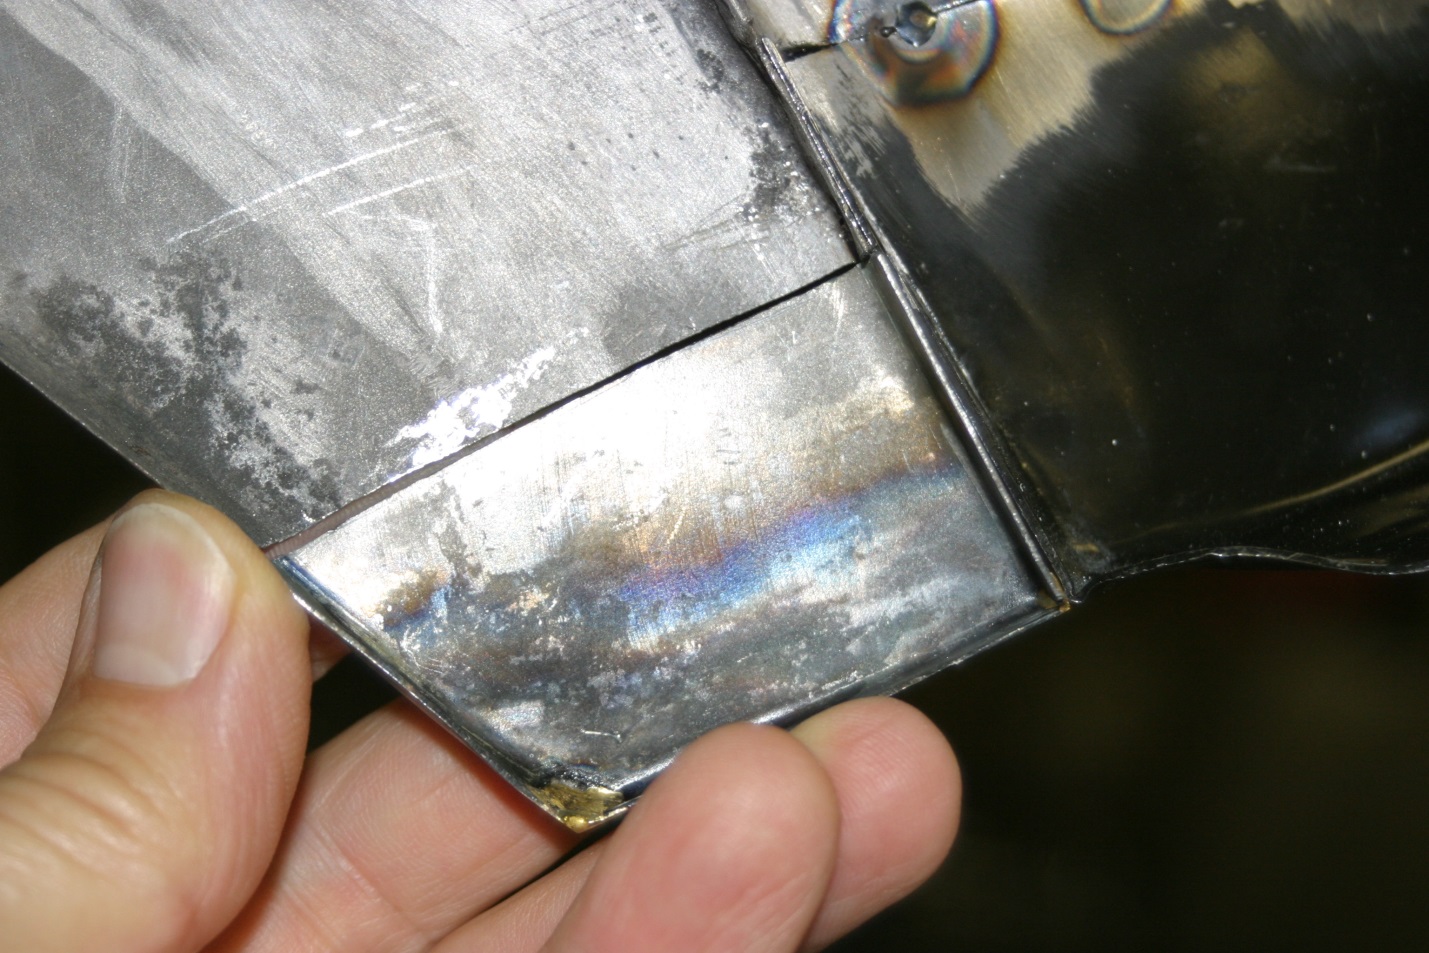
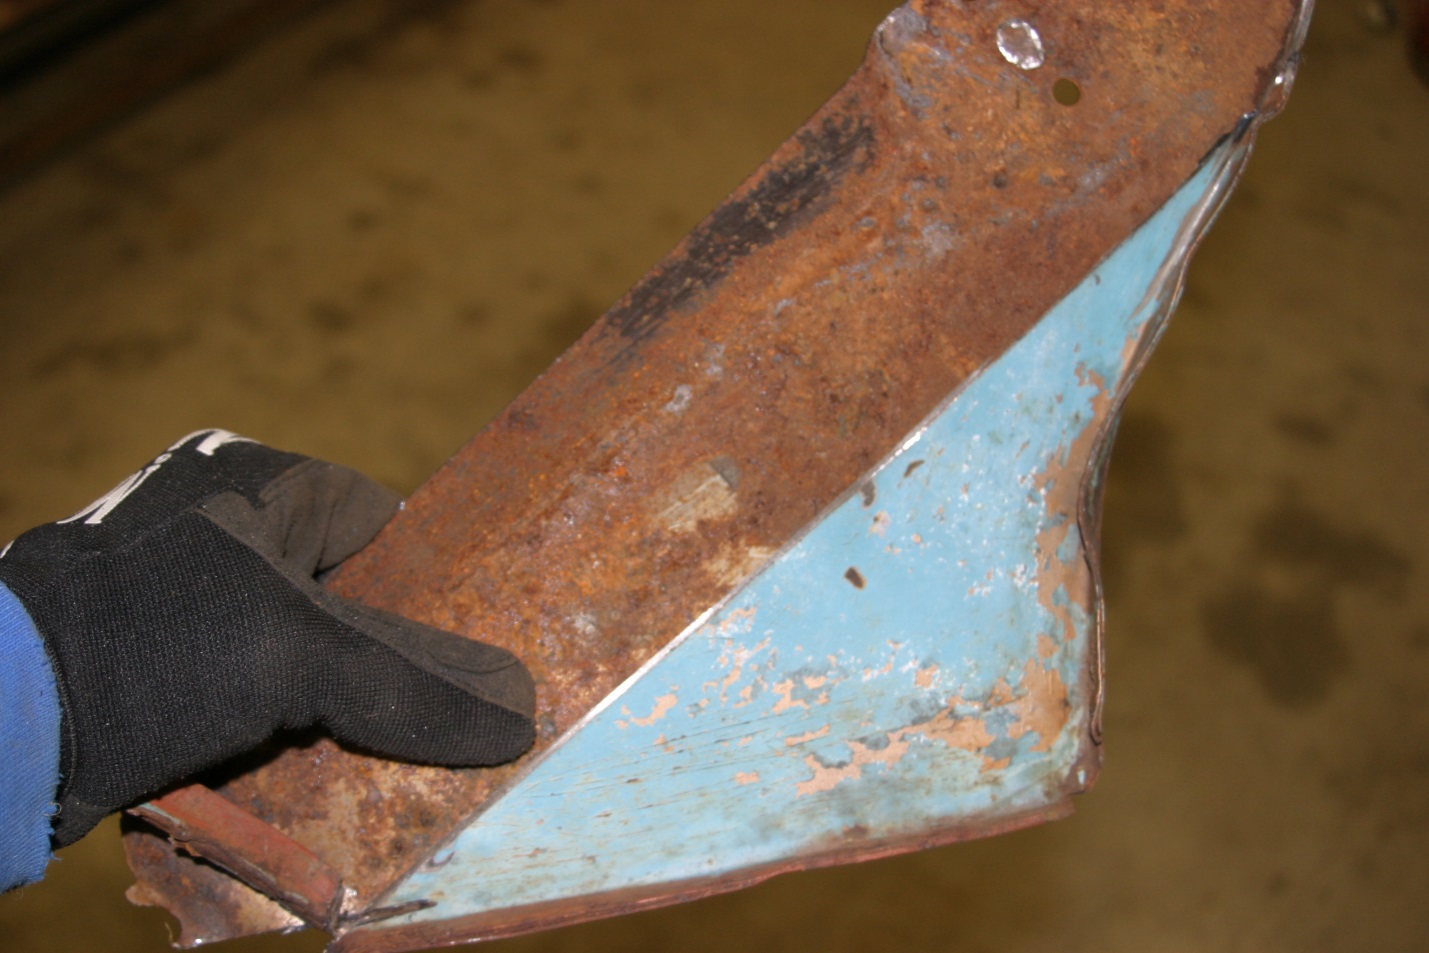
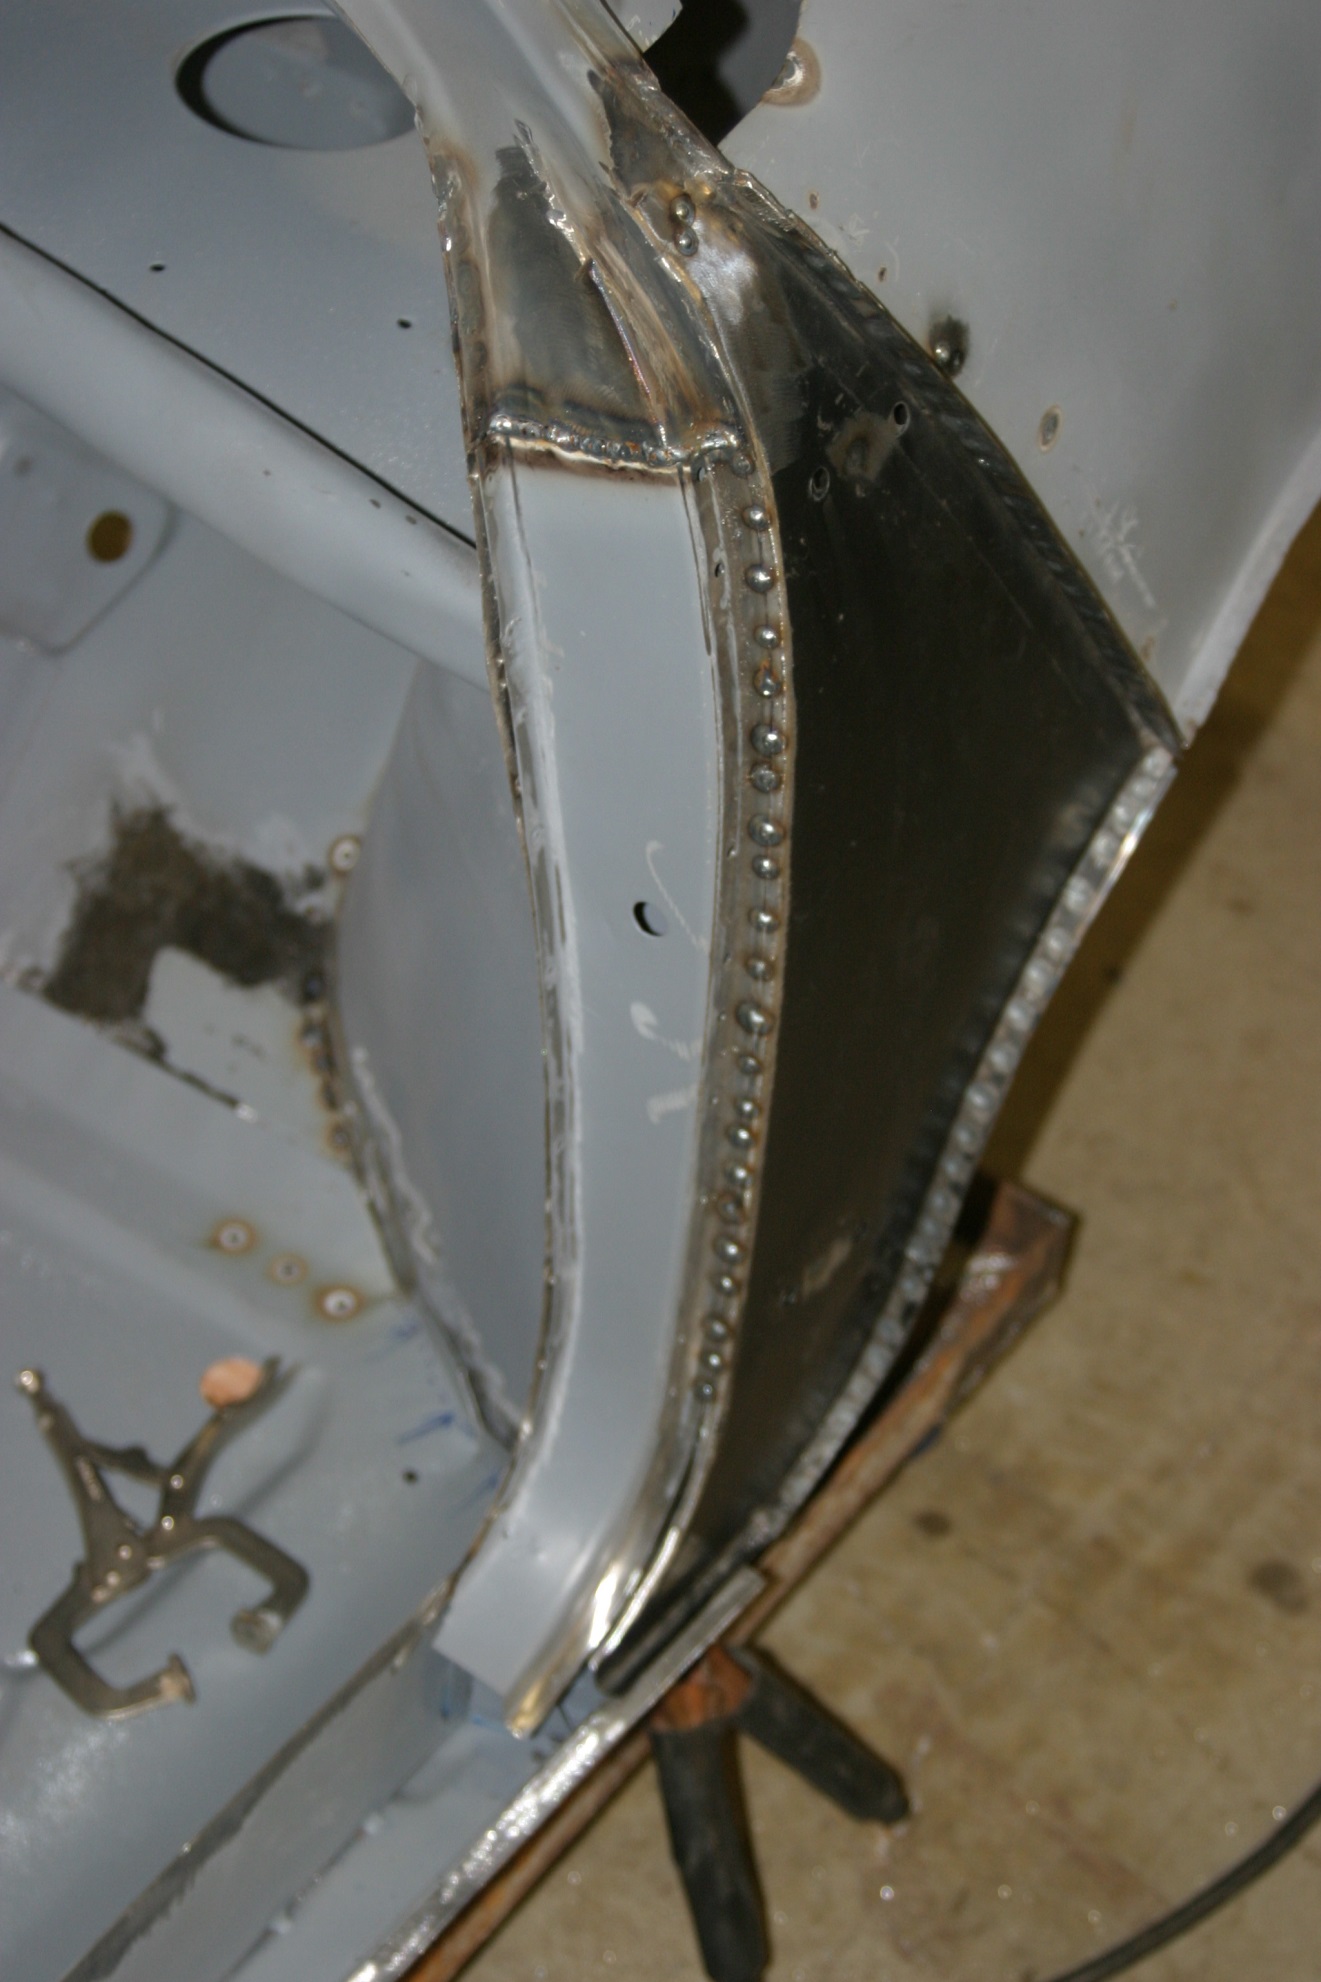
In any rusty old Mini, there’s tons of this stuff. This is the trailing tip of the rear quarter panel where it meets the rear boot panel. One side was sound, this side not so much.
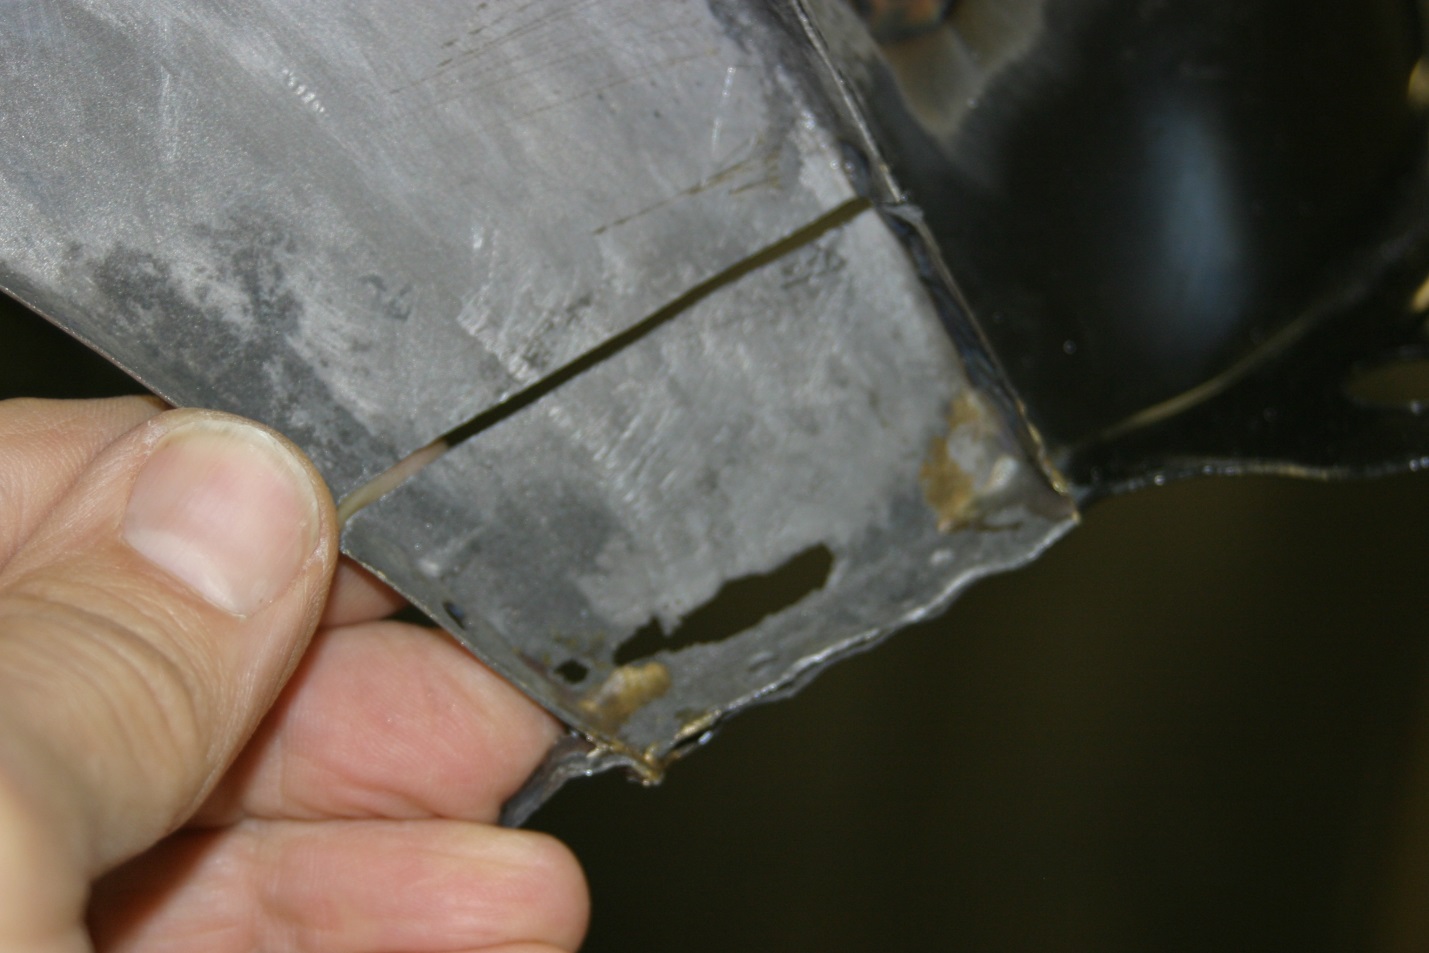
I fabricated this repair section, even brazing the corners like the original, trial fitted it a couple of times, then TIG welded it in.
This should scare the hell out of some of you - while others will be laughing at my folly. None of the new sheet metal, either Heritage or Fly-by-Night brands, fit without some work. The question is; how much fussing can you withstand to fit the car back together. I pouted for a week when I tried to fit the new complete floor assembly to the toe board of the front clip. It becomes clear that the guys who assembled these cars at the factory were faced with the same decisions. “Where do I cut/bend/hit this metal so the two fit?” However, those guys had the benefit of jig fixtures. We rely on our tape measure.
Truth be told, I scrounged a front clip and two floors from donor cars for a whopping $200, which soon became money well spent. I could run out behind the garage and measure away, then run back in and check my work. I emailed a couple of forum regulars asking for measurements but they summarily blew me off. Thanks guys.
If you think your Mini is “rust free” you might be partially right. However, there are places like between the inner and outer A panels where the sun doesn’t shine. Knowing there are multiple places about the body shell like this, inside the door posts for example, you must decide what you can live with.
Still a long way to go but it’s starting to look like a car body!


