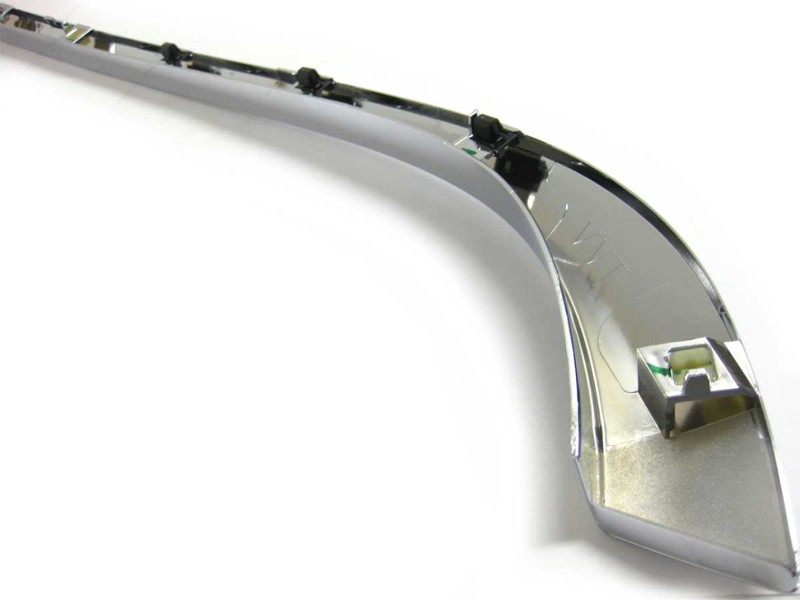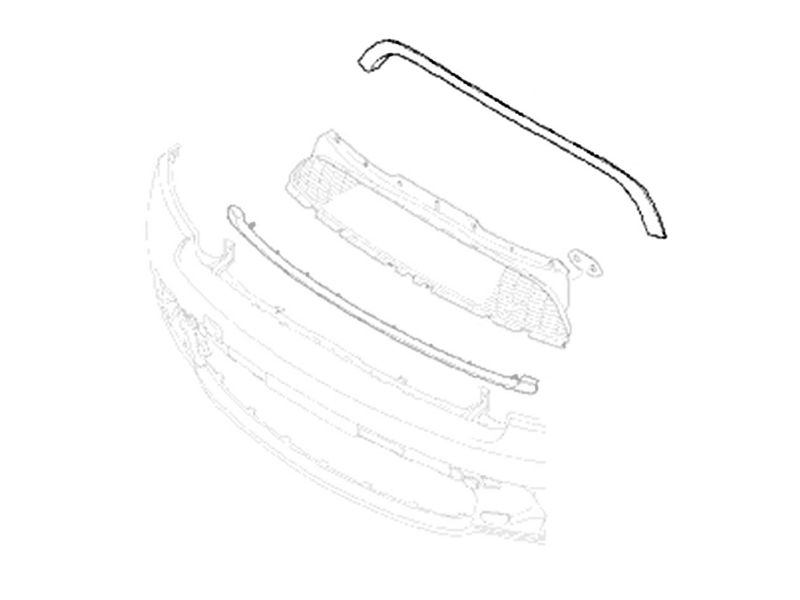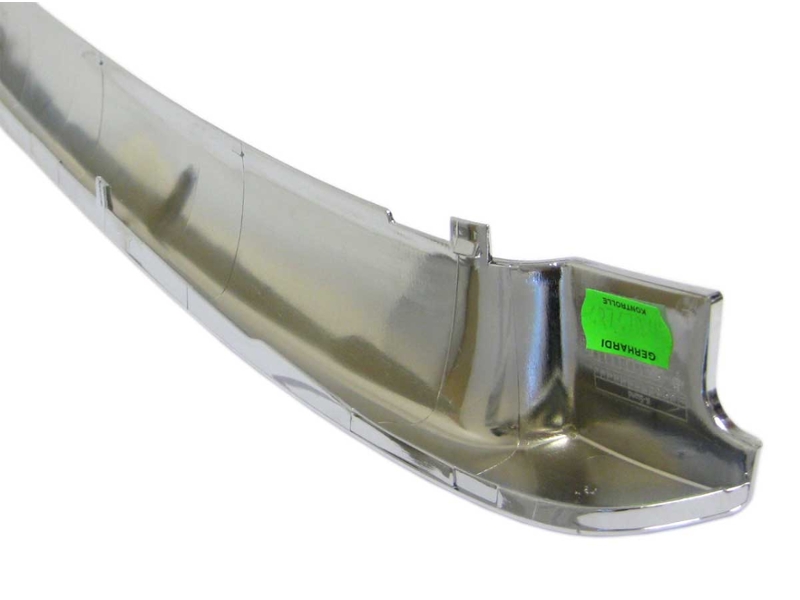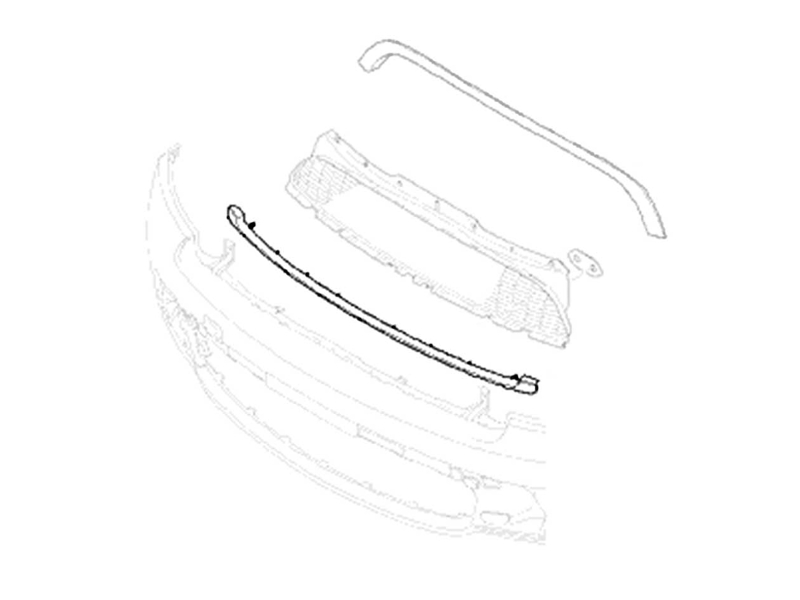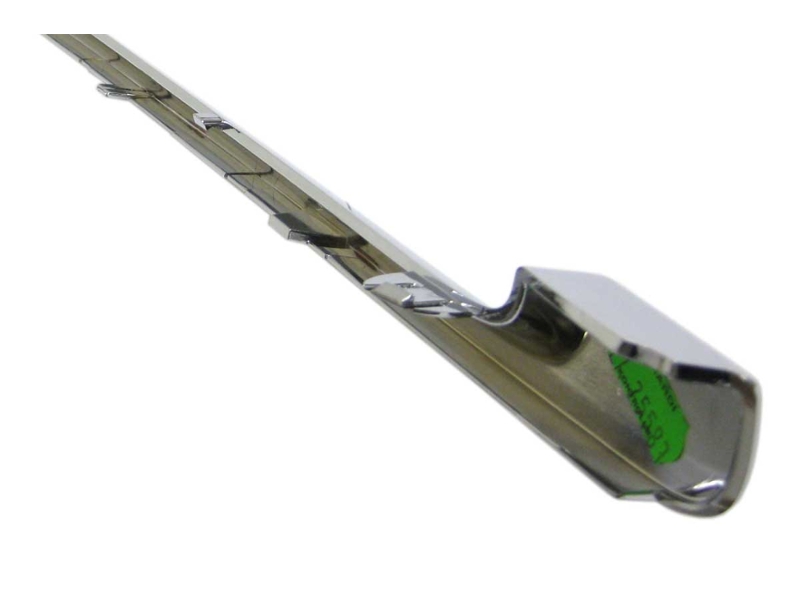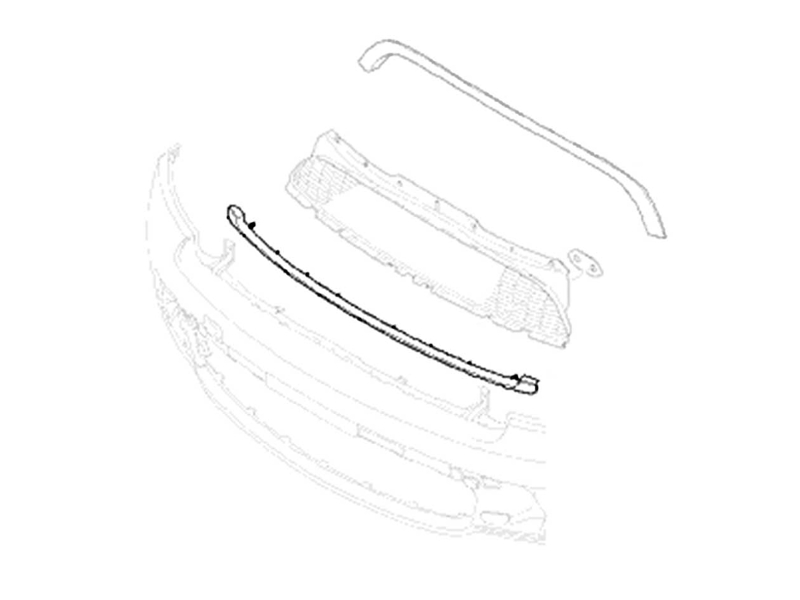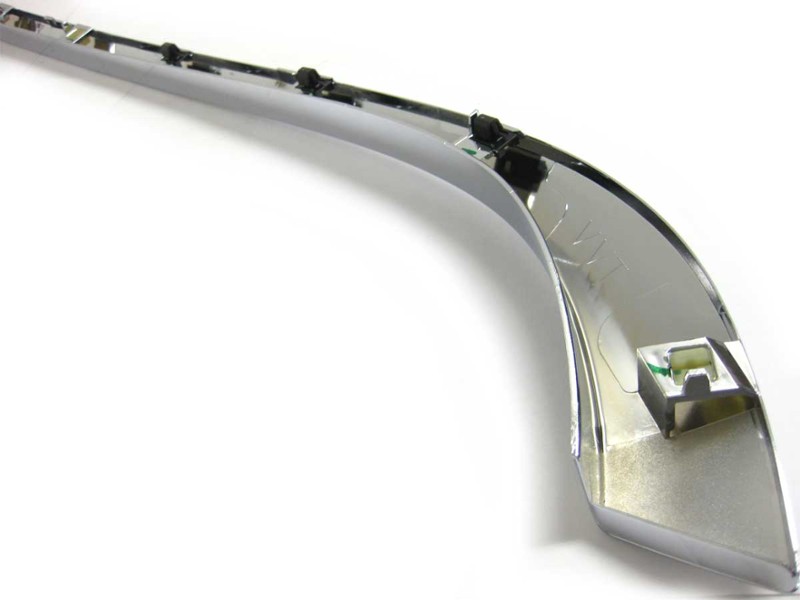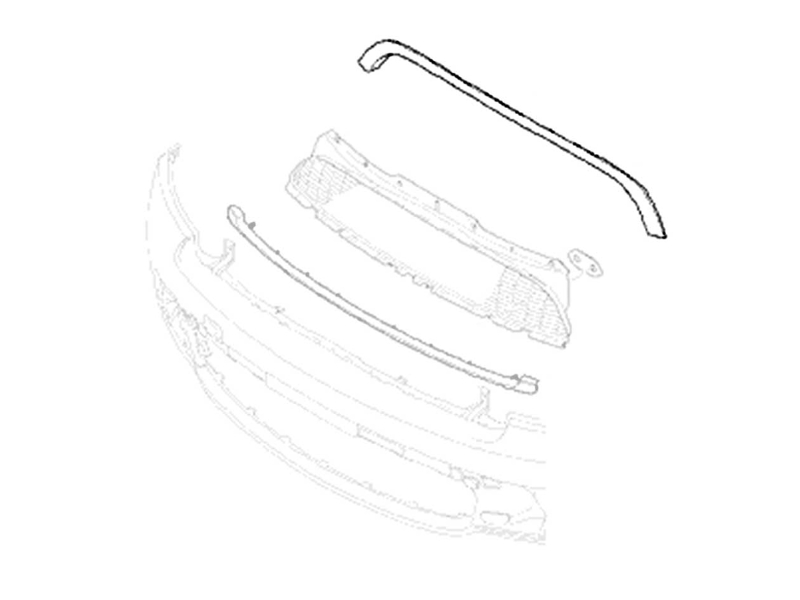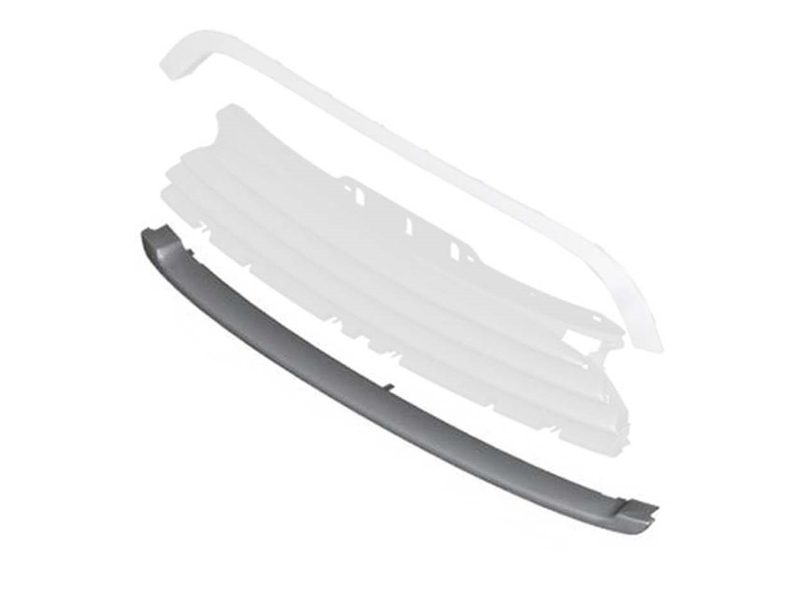


The Upper Trim and Lower Trim are available separately. Cooper uses different part numbers from Cooper S models. Grille not included.
Fits the following Cooper non-S models:
2007-2010 R56 Cooper Hatchback
2008-2010 R55 Cooper Clubman
2009-2010 R57 Cooper Convertible
Upper Grille trim comes with the plastic clips/tabs and plastic nuts, but the screws are not included. If you need the screws, the NMX7729 are the same screws used on the upper grille trim.
If you need hardware only, the Upper Trim Hardware Kit is available separately.
If you need hardware only, they are available separately.
For the Upper Bonnet Grille, see Mini Cooper Upper Grille Gen2 R55-R59.
For the JCW Blackout Upper Grille and Trim, see Mini Cooper JCW Blackout Grille Gen2 R55-R59.
For the Mini Countryman Upper Grille, see Mini Cooper Grille Gen2 R60 Countryman.
Loading...
Loading...
Loading...
Loading...
Loading...


