Mini Cooper Trailer Hitch Application Guide For Your GEN2 MINI R55, R56, R57, R58, R59, R60, and R61
In addition, there is information about the bottom of the page that explains the benefits of the 1 1/4 inch Hitch, installation instructions , wiring specs and our Bike Racks Recommendations.
And if you're looking for trailer hitches for another model, check these out:
.
Clubman (R55) Cooper, Cooper S & JCW - 2008-2014
Hardtop (R56)
Cooper – 2007 - 2010
Cooper S – 2007 - 2010
JCW - 2007-2013
Cooper – 2011 - 2013
Cooper S – 2011 - 2013
Convertible (R57) Models
Cooper (Non S) - 2007-2010
Without Rear Fog or Backup Light
Cooper S - 2007-2010
JCW - 2009-2015
Cooper (Non S) - 2011-2015
Cooper S - 2011-2015
Coupe (R58)
Cooper (Non-S) - 2007-2010
Without Rear Fog or Backup Light
Cooper S - 2012-2015
JCW - 2012-2015
Roadster (R59)
Cooper (Non-S) - 2012-2015
Cooper S - 2012-2015
JCW - 2012-2015
Countryman (R60) Cooper, Cooper S & JCW - 2011-2016
Paceman (R61) Cooper, Cooper S & JCW - 2013-2016
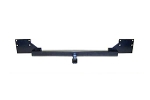
Class 1 Hitch with the 1-1/4" Receiver
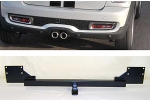
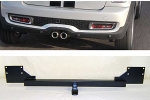
The Mini Cooper Class 1 Hitch with the 1-1/4" receiver is an excellent solution for adding a bike rack or an utility tray to the back of your MINI Cooper- and yes, you can tow a small trailer!
The vast majority of MINI drivers will use this base Trailer Hitch in conjunction with an aftermarket bike rack attachment (like Thule, Yakima, etc.) while others hook up one of the flat extensions for luggage or autocross tires, etc.
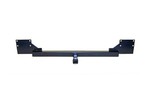
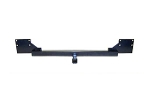
Trailer Hitch Detail:
- 1 1/4" Class I Receiver SAE J684 Certification
- Mounts concealed behind rear bumper
- Uses backup light (02-04)/ rear fog light (05-06)/ black bumper insert (05-06) opening
- Retains functionality of backup light/ rear fog light when the receiver trailer hitch is not in use
- Powder coated black to resist rust
- 200 lb maximum tongue weight
- 1400lb tow capacity on all models but Countryman which has a 2000 lb maximum towing capacity
- Packaged complete with installation instructions
- Installs with ordinary hand tools using existing hardware
Alternative Trailer Hitches
Hides Behind Your Bumper
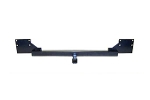
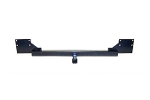
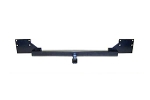
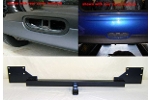
These hitches are custom engineered to fit specific MINI models and is one of the only trailer hitches for MINI Coopers on the market that is hidden behind the bumper yet accessible for easy use when needed. The hitch mounts between the large bumper support beam and the chassis.
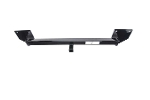
The MINI Cooper Trailer Hitch is a heavy duty steel assembly that mounts behind the plastic part of the MINI Cooper bumper and uses factory hardware and mounting location for a seamless and integrated look that is safe and secure and offers MINI owners the flexibility to haul, tow, attach or carry stuff they otherwise would never be able to.
Accessing the Trailer Hitch
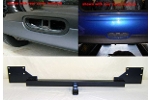
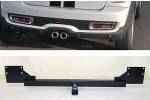
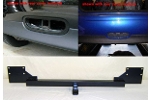
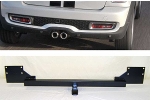
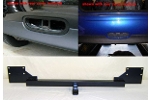
On some MINI models access to the trailer hitch is made by removing the rear fog (red) /reverse light (clear) by reaching behind the bumper and squeezing the tabs on the sides of the light housing and pushing it outward. Once the light is removed the trailer hitch can be used and the light can be reinstalled when not in use.
On other models (Clubman, Paceman and Countryman) the trailer hitch is hidden behind the license plate while on others the hitch is behind the black mesh grill in the lower bumper in which case we supply a black filler plug for use when the hitch is not being used.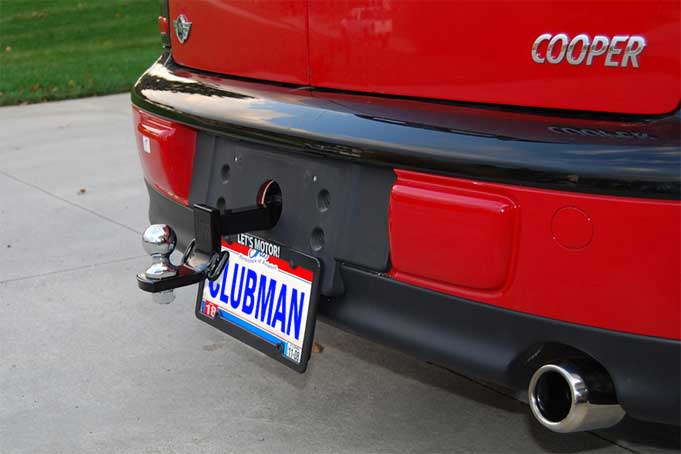
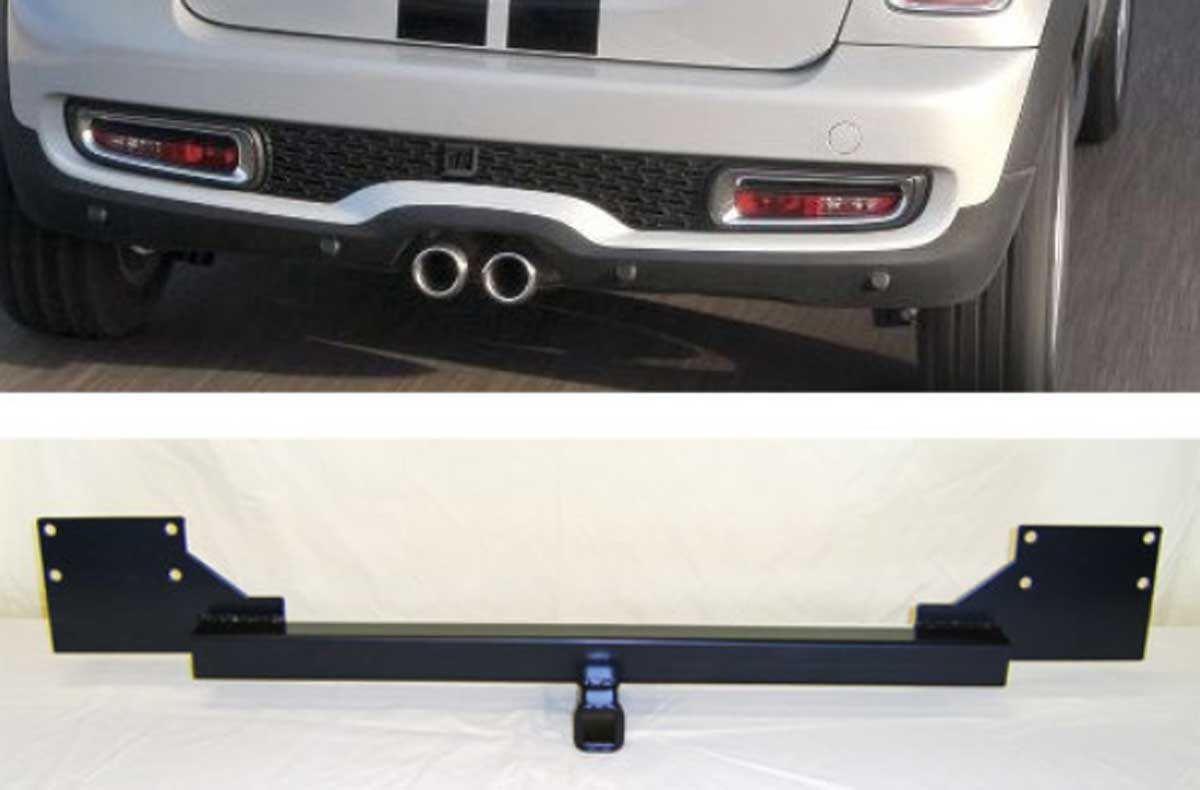
Accessing the hitch to insert the hitch lock pin requires reaching behind the plastic part of the bumper and above the exhaust tips. Confirm the exhaust tips have cooled off first. The first few times it will be a bit challenging to work 'blind' but it will get easier. Accessing the hitch pin will only be required if a accessory or drawbar is added or removed.
Once installed, the hitch can be used to attach just about any off-the-shelf trailer, bike rack or luggage trays that have a 1-1/4" size connection. The vast majority of MINI drivers will use our hitch in conjunction with an aftermarket bike rack attachment (like Thule, Yakima, etc.). A 1-1/4" hitch connection is required and the post needs to be long enough to clear the bumper.
Trailer Hitch Installation Instructions
For detailed instructions pertaining to your specific MINI model, please see our "Trailer Hitch Instruction Guides"
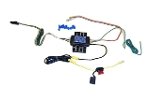
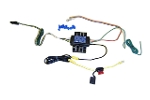
Wiring Kit Detail:
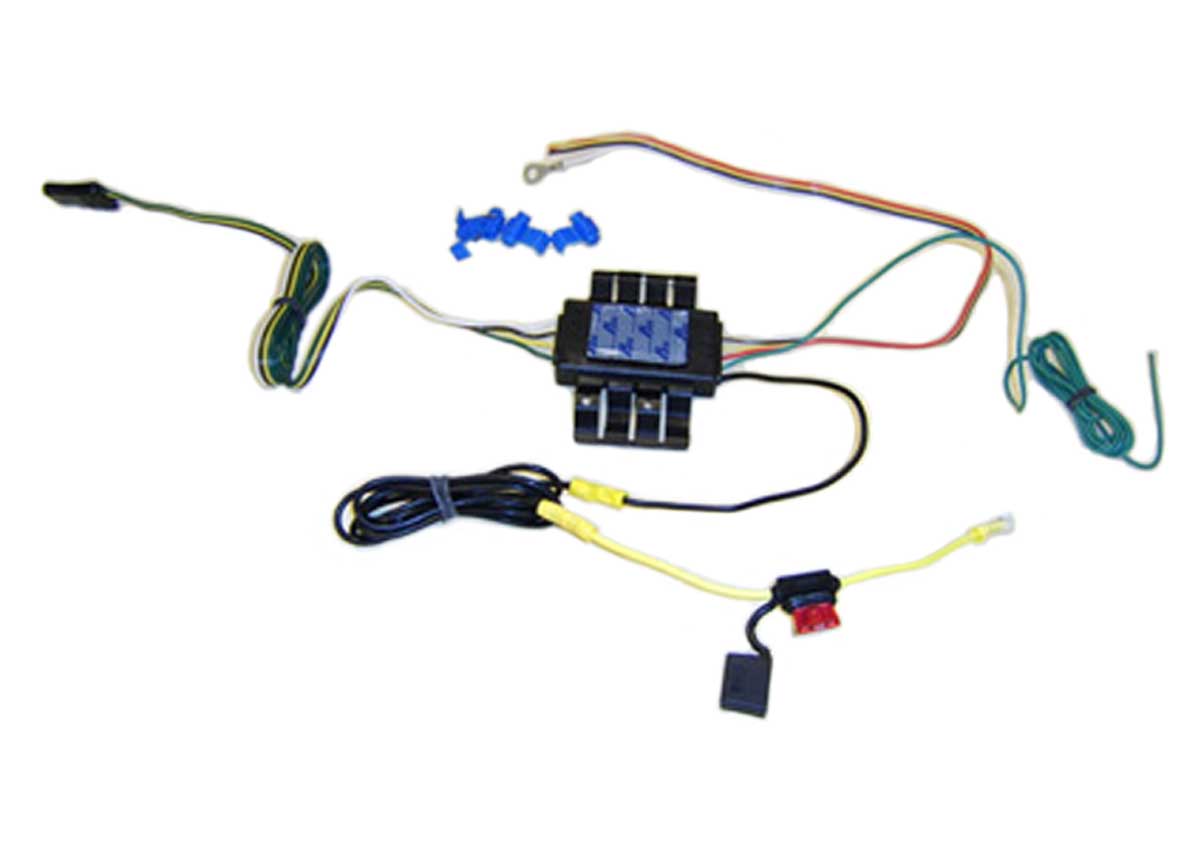
- Standard 4 plug connector
- Active tail converter that functions without applying additional loads to the MINI's wiring or computer
- Takes power from a direct feed from the battery with 10 amp fuse
- Takes 3 brake and stop signals (left turn, right turn, stop) and converts to two light signal on trailer lights (left turn and stop, right turn and stop)
- Includes all required wiring, connectors, and detailed installation instructions
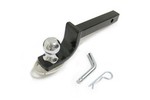
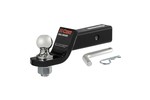
Drawbar Detail:
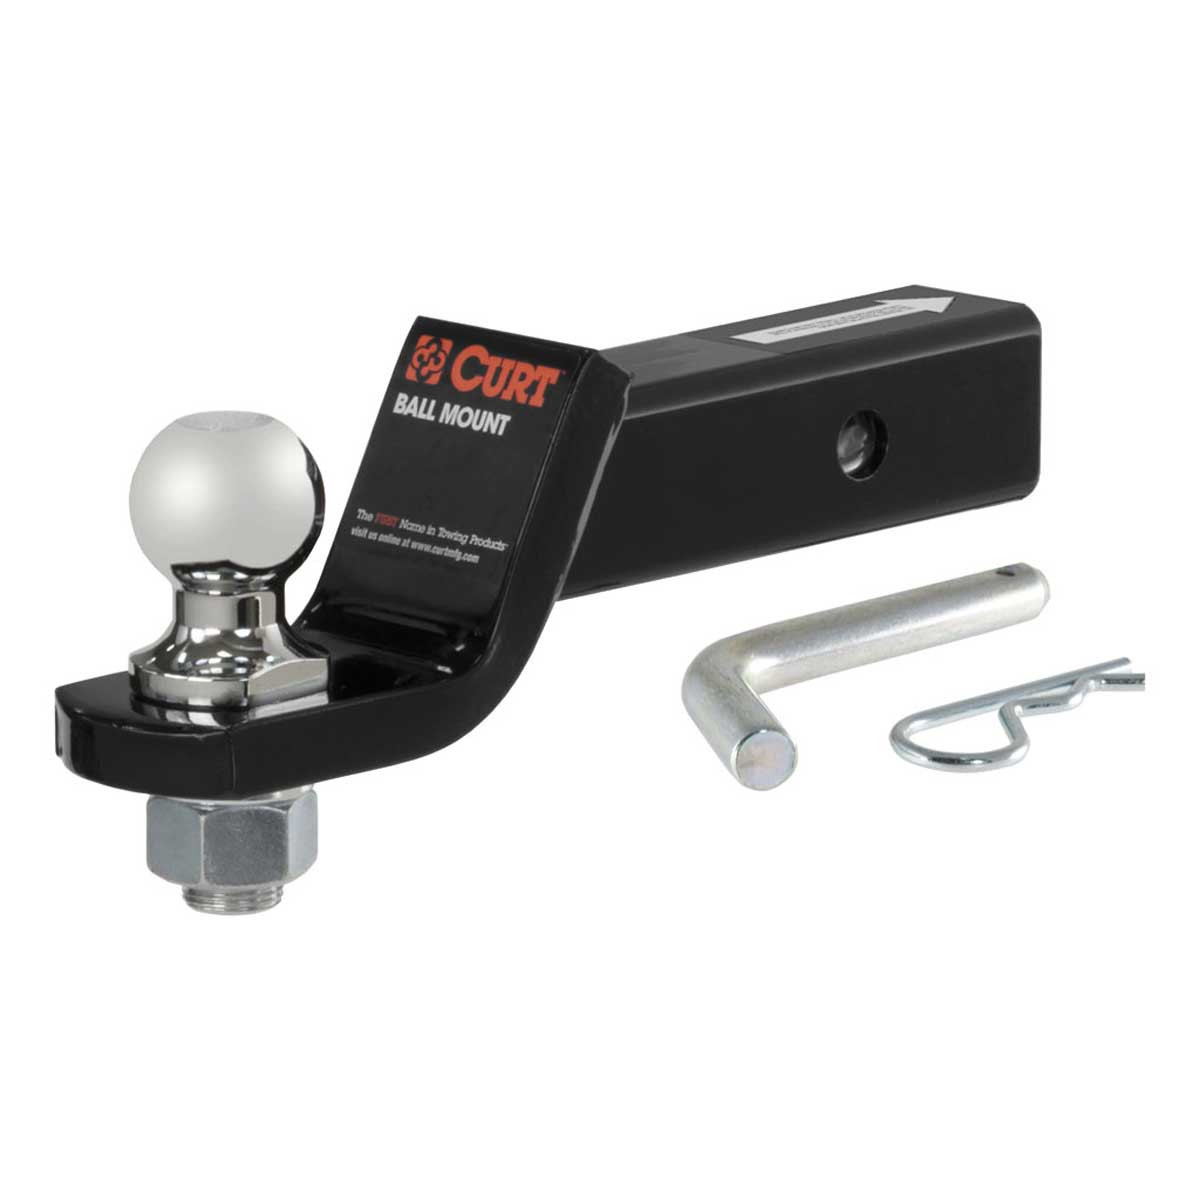
- 1 1/4” Class I drawbar with 2” drop
- Includes 1 7/8” ball
- Tow chain hooks included
- 1/2" pin and clip included
- All stored in an OEM (Original Equipment Manufacturer) Mini Cooper trunk mounted tool bag
- Draw bar bag uses clips and mounts in boot of car when not in use
MINI Specific Model notes:
- 2002 – 2004 Mini Cooper and MINI Cooper S Trailer Hitch - Uses backup light opening
- 2005 – 2006 Mini Cooper and Mini Cooper S Hardtop - Uses rear fog light/ black bumper insert opening for access
- 2005 – 2008 Mini Cooper and Mini Cooper S Convertible - Uses rear fog light/ black bumper insert opening for access
-
Bike Rack Recommendations
Click Here for Bike Rack Application Guide

