MINI Cooper Service & Maintenance Schedule
for 1st Generation ("Gen1") MINIs
This information is intended as a guide to help you keep your MINI properly maintained. Proper maintenance will minimize the chance of "car problems" down the road, and greatly reduce the chance of expensive repairs resulting from a neglected MINI. It is recommended to document your service records, as this will make your MINI more attractive to the potential next owner.
Applies to:
- 2002-2006 R50 MINI Cooper Hardtop
- 2005-2008 R52 MINI Cooper and Cooper S Convertibles
- 2002-2006 R53 Cooper S Hardtop
Please Note:
- This list may not be complete, as service items may have been added by the factory since this list was created. Some dealers may perform fewer, or additional, tasks than are on this list
- This list is only an "unofficial guide" - see your MINI Owner's Guide for maintenance requirements for your MINI
Other Links:
- For the the 2007+ 2nd generation MINIs click here
- For the 2014+ 3rd generation MINIs click here
- For a guide to performance parts, see An Upgrade Guide for Your MINI
- Shop: MINI Cooper maintenance parts & accessories
Not sure about what MINI you have? Check our our article: "What Kind of MINI Cooper do I drive?"
MINI Coopers have 3 types of service:
- Oil Change
- Inspection (I)
- Inspection (II)
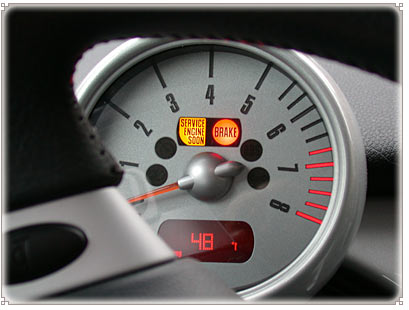
Your service interval display located in the center of the speedometer will notify you of which service type you need. Each time the vehicle is started the display will show the mileage until the next service is needed.
If the display is flashing and the mileage is displayed as a negative you have gone past the time of service and are overdue (click here for instructions on how to reset the service indicator lights (SIL)).
The services come in this order:
- Oil Change
- Inspection (I)
- Oil Change
- Inspection (II)
- repeat from #1
Inspection (I) is also known as a "Minor Service," and Inspection (II) is also known as a "Major Service." Inspection II includes most of the tasks from Inspection I with additional Inspection II tasks.
Suggested Gen1 MINI Services
OIL CHANGE
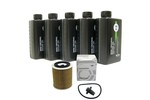
- Oil and Filter change (does the dipstick need replacing? click here)
- Reset service interval display
- Interior Cabin Filter
- Check brake pads
- Check brake rotors
- Clean brake pad contact points
- Grease wheel centering hubs
- Check parking brake
Don't pollute. Conserve resources. Return used oil to collection centers.

INSPECTION I
- Oil and Filter change
- Check transmission fluid for leaks
- Change CVT (automatic transmission) fluid
- Check CV joint boots for damage or leaks
- Visually check fuel tank, fuel lines and connections for leaks
- Check condition, position and mounting of exhaust system. Adjust if necessary.
- Check struts and shock absorbers for leaks
- Check front control arm bushings for damage or wear
- Check power steering system for leaks. Check fluid level and add if necessary.
- Check steering rack and tie rods for tightness.
- Check condition of steering linkage and steering shaft joints.
- Check overall thickness of front and rear brake pads. If replacement is necessary:
- Examine Brake disc surface
- Clean brake pad contact points in calipers
- Grease wheel centering hubs
- Check thickness of parking brake linings only when replacing rear brake pads
- Check operation of parking brake and adjust as necessary
- Check brake system connections and lines for leaks, damage and incorrect positioning
- Check parking brake actuator. Adjust if necessary
- Check all tire pressures (including spare if equipped) and correct if necessary
- Check condition of tire tread surface, tread wear pattern. Align if necessary
- Inspect entire body according to terms of rust perforation limited warranty. (Must be performed every 2 years)
- Read out on-board diagnostic (OBDII) fault codes
- Check engine coolant system / heater hose connections for leaks
- Check coolant level and antifreeze protection level.Add if necessary
- Check windshield washer fluid level and antifreeze protection. Add if necessary
- Check air conditioner for operation
- Replace ventilation micro filter (reduce replacement interval in dusty conditions, i.e. change more frequently)
- Reset service interval display.
- Check battery state of charge
- Check operation of:
- headlights, fog lights, parking lights, back-up lights, turn signals
- emergency flashers, stop lights, license plate lights, interior lights
- glove compartment light, make-up mirror light, flashlight
- engine compartment light, trunk light
- Check instrument panel lights
- Check warning and indicator lights, check control
- Check operation of horn, headlight dimmer and flasher switch
- Check wipers and windshield washer system
- Check aim of washer jets and adjust if necessary
- Visually examine all airbag units for torn covers, obvious damage or attachment of decals, decorations, or accessories
- Check central locking system
- Check operation and condition of door, engine hood and rear hatch latches
- Check heater, air-conditioner blower and rear defogger operation
- Check operation of rear view mirrors
- Additional Checks:
- braking performance
- steering
- heating
- air-conditioner operation
- Check manual transmission and clutch or automatic transmission operation

INSPECTION II
Includes most if not all of the above Inspection I tasks, plus the below:
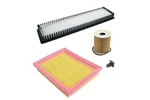
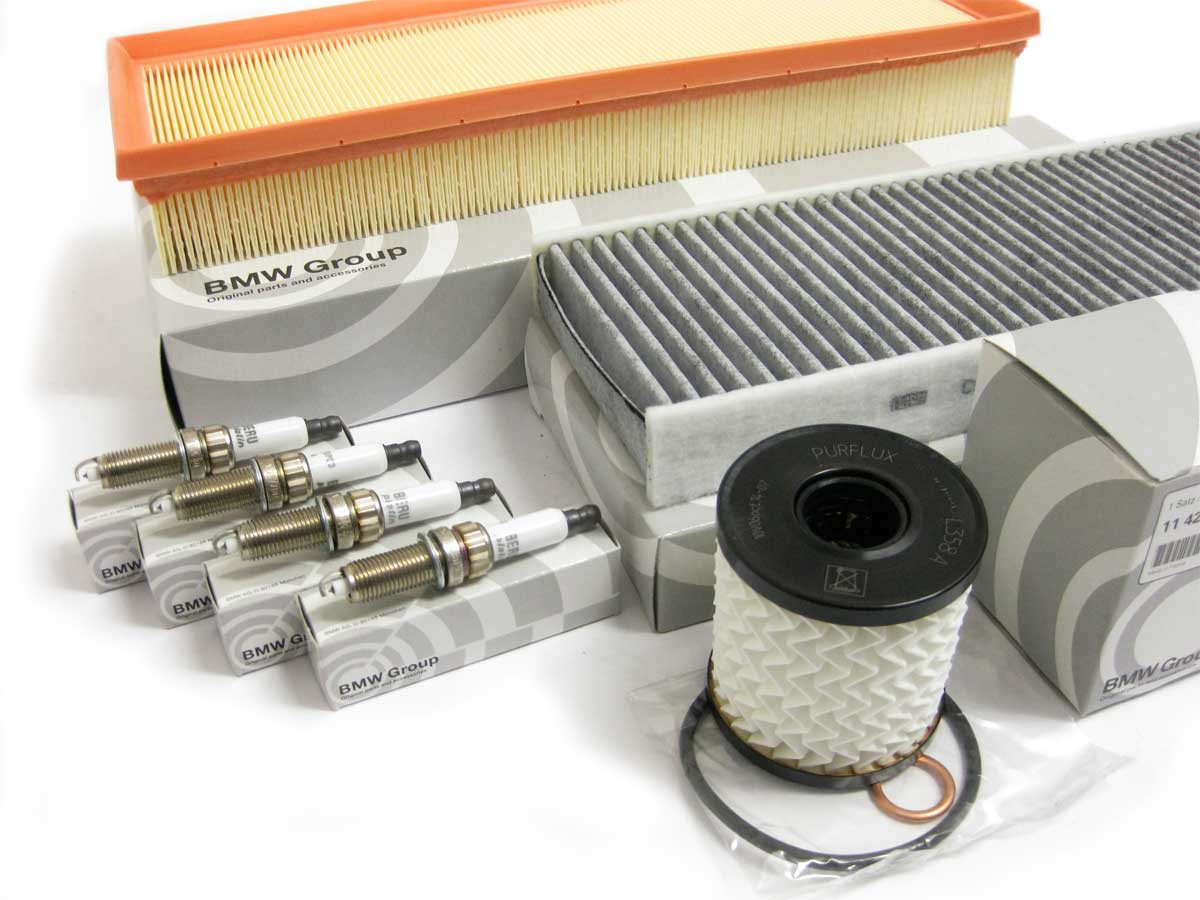
- Check/replace air filter element
- Check/replace serpentine belt - 60,000 miles for Cooper S
- Check/replace brake fluid - every 2 years (dealer recommended)
- Check/replace coolant - every 4 years
- Check oxygen sensor - replace at 100,000 miles
- Check spark plugs - Replace at 100,000 miles

To Reset Service Indicator Lights (SIL):
- Sit in car, close door and turn ignition on.
- Press and hold trip reset button for 10 seconds.
- The upper display in the tach will be illuminated with a service item.
The lower display in the tach will indicate the remainder left for that service item. - Pressing the BC (board computer) button repeatedly on the end of the turn signal stalk will allow the display to scroll through all of the condition based service items.
- To Reset, press and hold the bc button again and the lower screen will indicate reset.
- Pressing the bc button only resets the item displayed in the upper window only.
- Repeat the procedure for any additional service reset needs.


